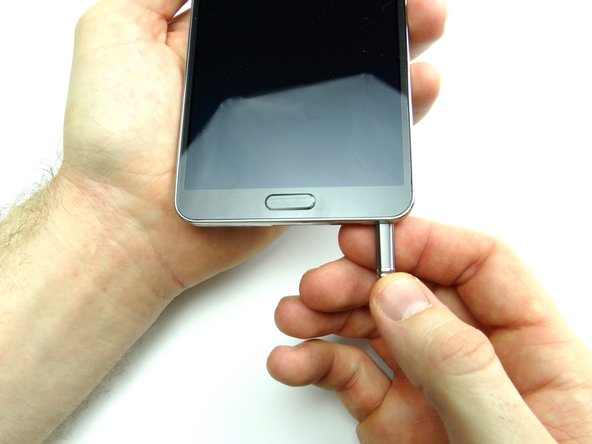
1. Before disassembly, thoroughly wash and dry your hands. Remove the stylus, battery cover and battery. Place in ZONE I. Remove SIM card and SD card. Place in COMPARTMENT A.
    • Before disassembly, thoroughly wash and dry your hands.

    • Remove the stylus, battery cover and battery. Place in ZONE I.

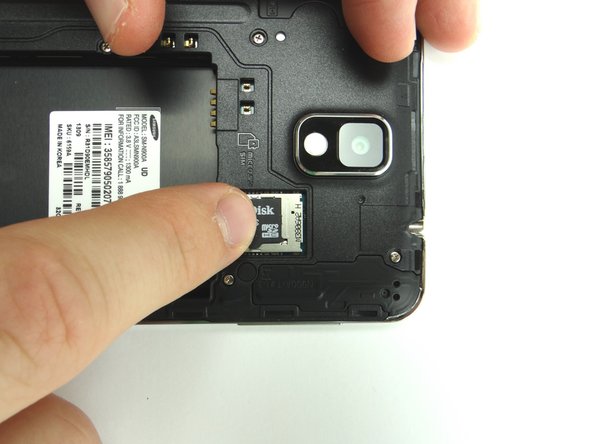
    • Remove SIM card and SD card. Place in COMPARTMENT A.

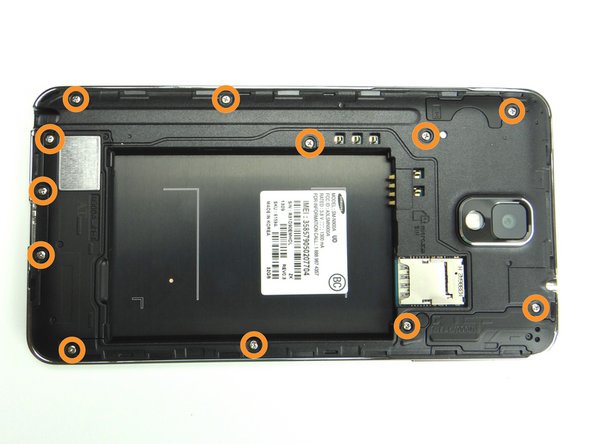
    • Remove twelve 4.0 mm #00 Phillips screws. Place in SLOT 1.

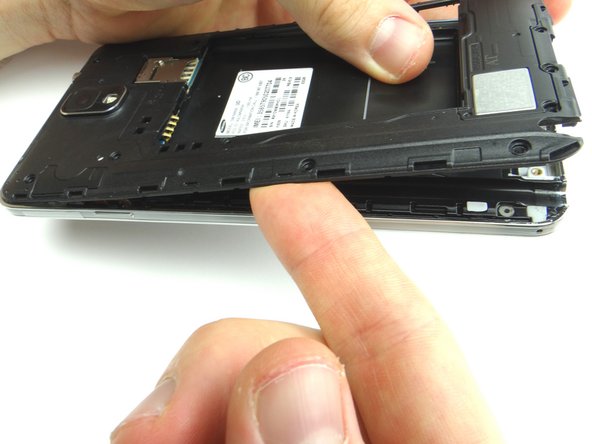
  2. Insert the pointed end of the spudger into the stylus slot (Picture 1).  Lift up to create enough space to grab the mid-frame, as in Picture 2. Use your fingers to gently peel up mid-frame. Place mid-frame in ZONE II.
    • Insert the pointed end of the spudger into the stylus slot (Picture 1). Lift up to create enough space to grab the mid-frame, as in Picture 2.

    • Use your fingers to gently peel up mid-frame.

    • Place mid-frame in ZONE II.

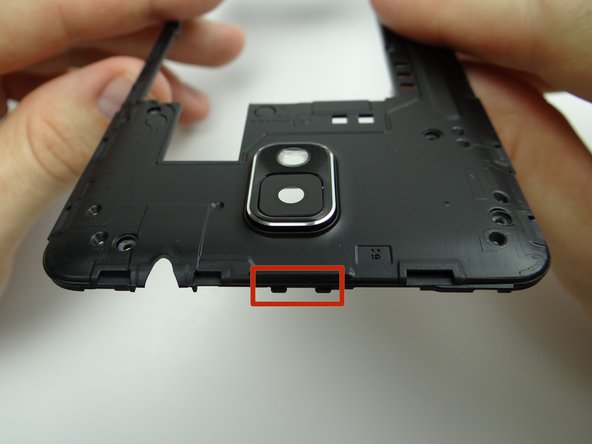
  3. Replace mid-frame from ZONE II.  Note the clips at the top of the mid-frame. Place the mid-frame clips in their slots at the top of the front panel before seating the rest of the mid-frame.
    • Replace mid-frame from ZONE II. Note the clips at the top of the mid-frame.

    • Place the mid-frame clips in their slots at the top of the front panel before seating the rest of the mid-frame.

  4. Replace twelve 4.0 mm Phillips screws from SLOT 1. Replace the SD card & SIM card from COMPARTMENT A. Replace the battery cover, battery and stylus from ZONE I.
    • Replace twelve 4.0 mm Phillips screws from SLOT 1.

    • Replace the SD card & SIM card from COMPARTMENT A.

    • Replace the battery cover, battery and stylus from ZONE I.

Finish Line

James Linder

Member since: 01/24/2013

71,591 Reputation

217 Guides authored

0 Comments

Add Comment

View Statistics:

Past 24 Hours: 1

Past 7 Days: 1

Past 30 Days: 2

All Time: 51

CELL PHONE SANDBOX