-
-
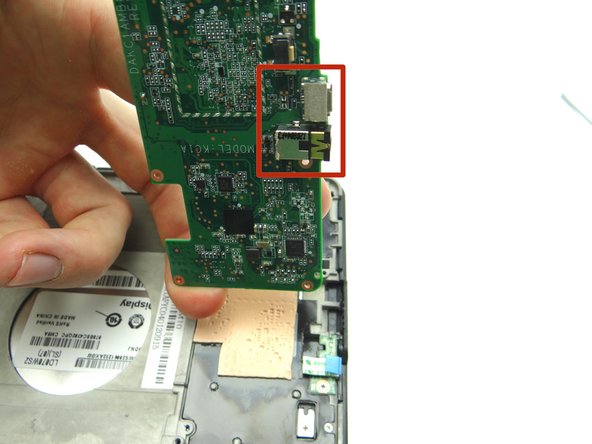
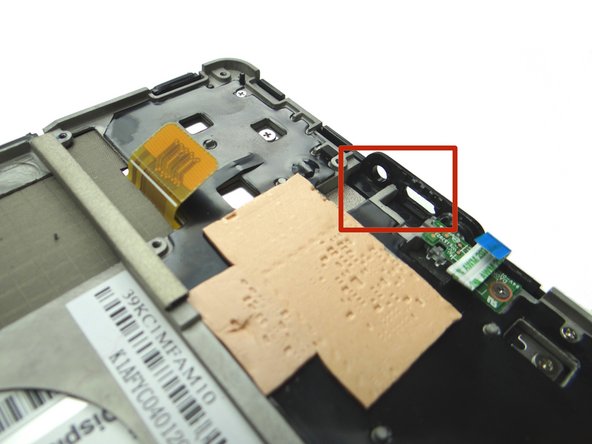
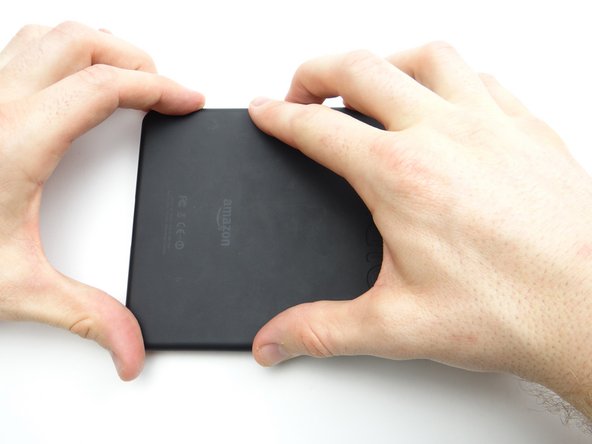
In the next few steps, you'll be opening the Kindle by freeing the clips marked in Picture 2.
-
-
-
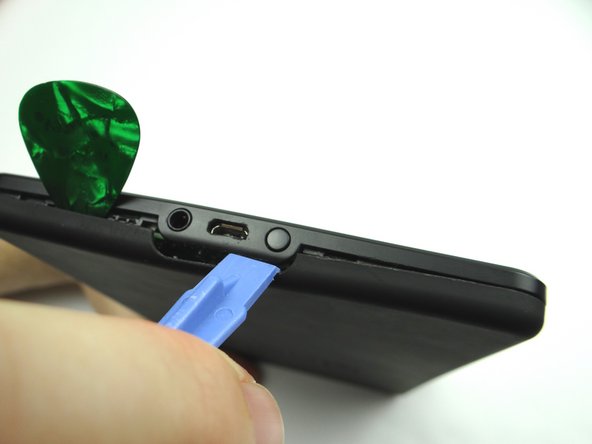
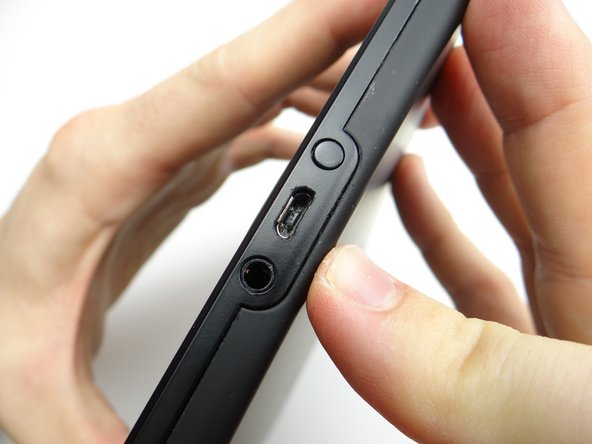
Picture 1: Insert the blue pry tool directly under the charging port.
-
Picture 2: Slide the blue pry tool slightly left, under the headset jack.
-
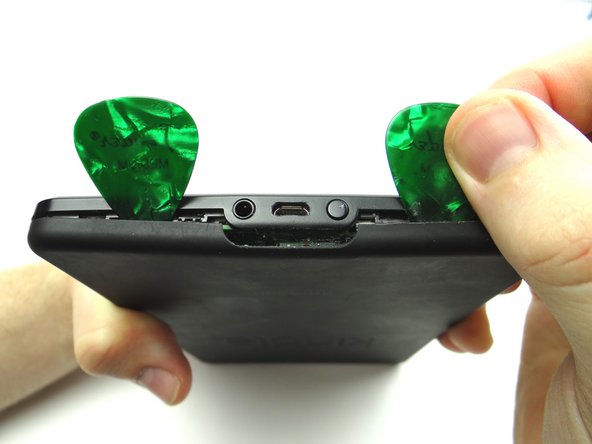
Picture 3: Pry the battery cover open just enough to insert a guitar pick left of the headset jack.
-
-
-
Picture 1: Slide the blue pry tool right, under the power button.
-
Picture 2: Pry the battery cover open just enough to insert a guitar pick right of the power button.
-
-
-
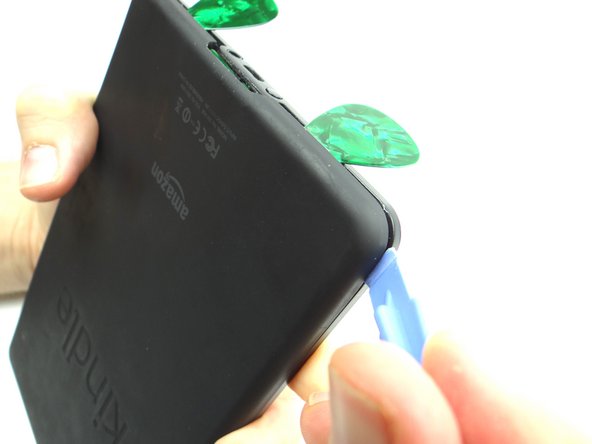
Pry from the bottom of the Kindle to the top to release the battery cover clips.
-
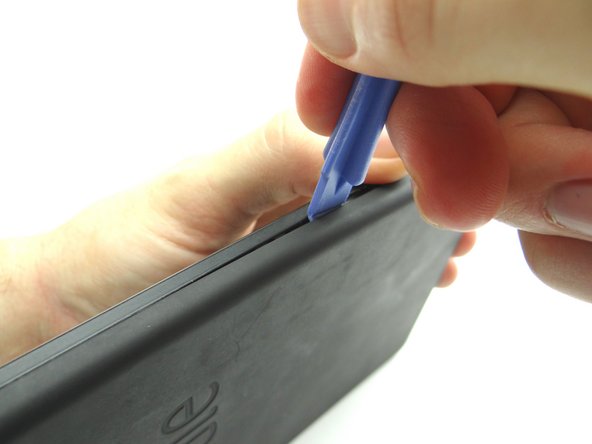
Pry up the other side.
-
-
-
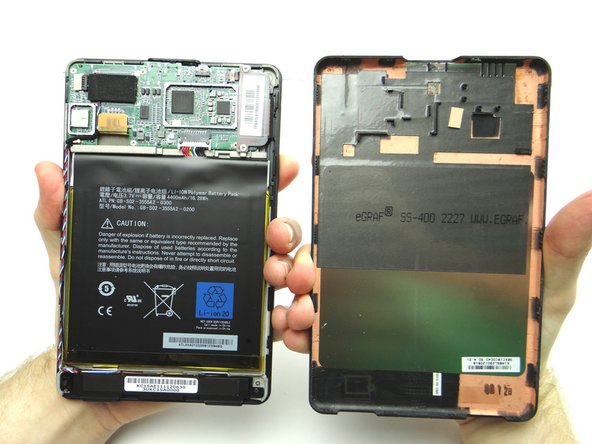
With the Kindle upside down (charging port at top), use your hands to separate the battery cover from the Kindle. Start at the charging port and work your way down.
-
Place battery cover in ZONE V.
-
-
-
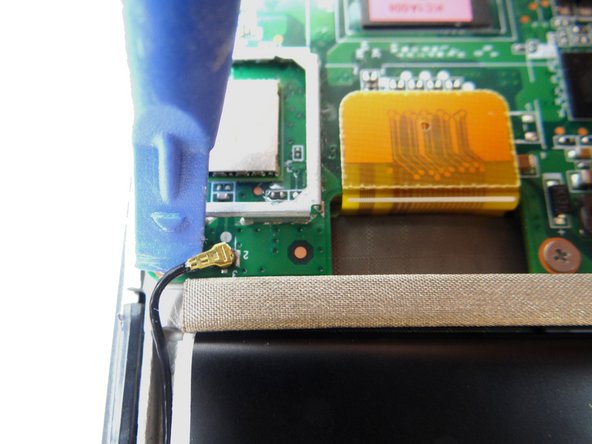
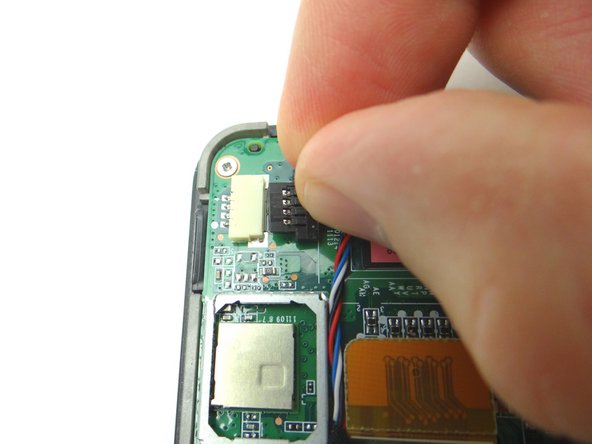
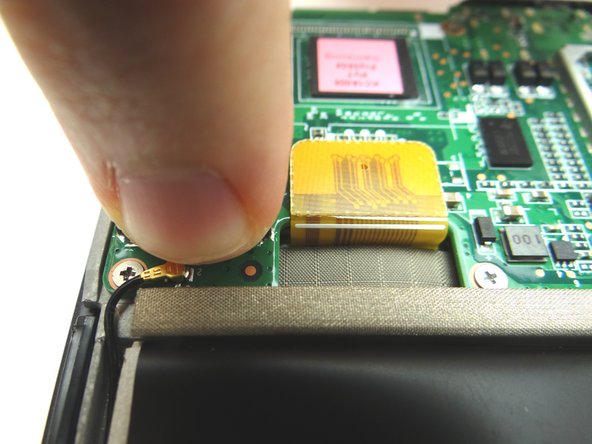
Use the blue pry tool to disconnect the antenna cable head.
-
Unthread antenna cable, but don't try to remove it.
-
-
-
Picture 1: Wedge the spudger under the lower-right corner of the battery.
-
Pictures 2 & 3: Work your way up the right side.
-
-
-
Picture 1: Wedge the spudger under the lower-left corner of the battery as shown.
-
Pictures 2 & 3: Work your way up the left side.
-
-
-
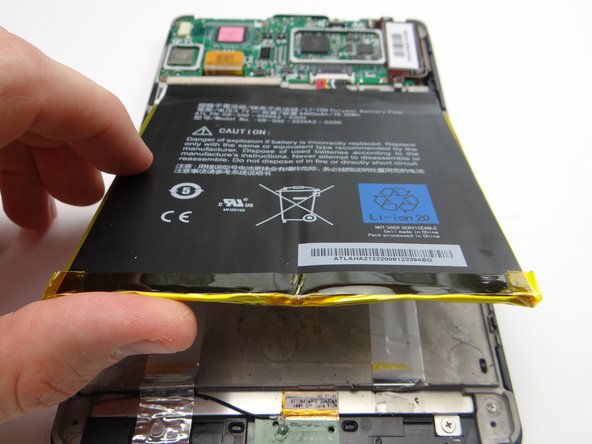
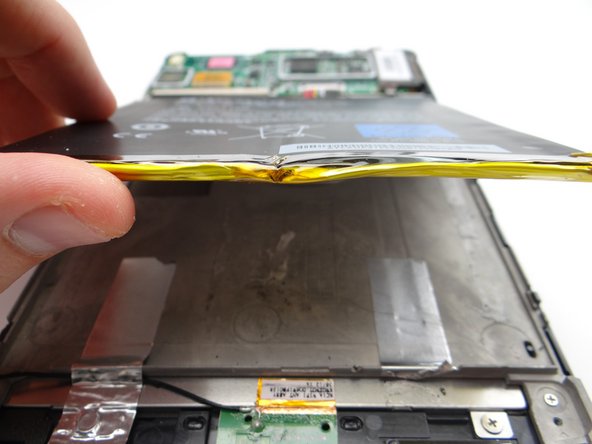
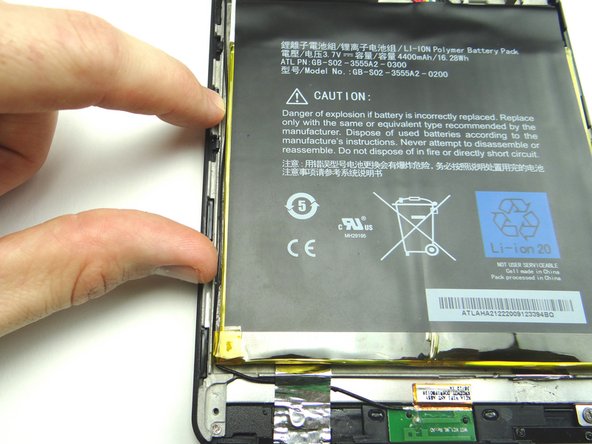
Don't try to remove the battery as it's still connected to the logic board:
-
Lift the battery up from the bottom to free it from the adhesive.
-
Lift it to a 45° angle.
-
-
-
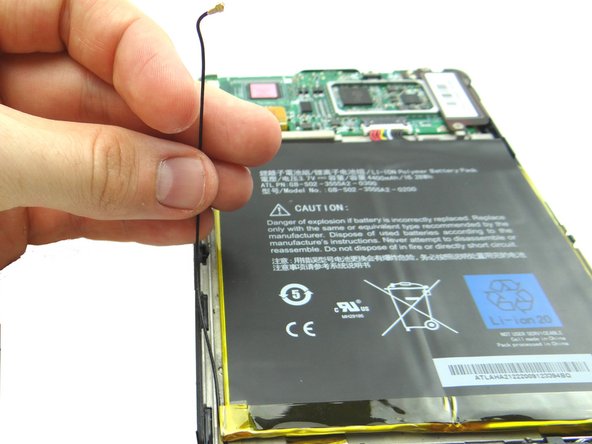
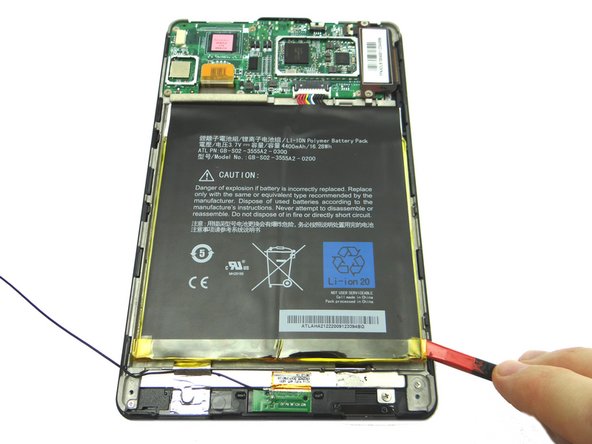
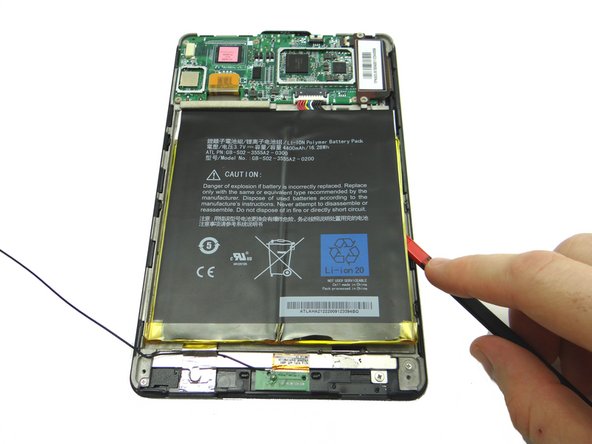
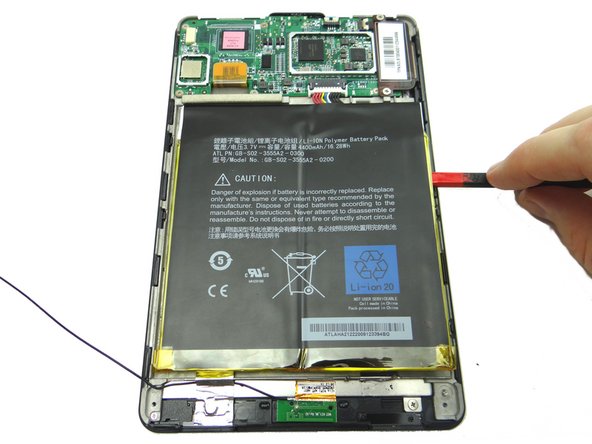
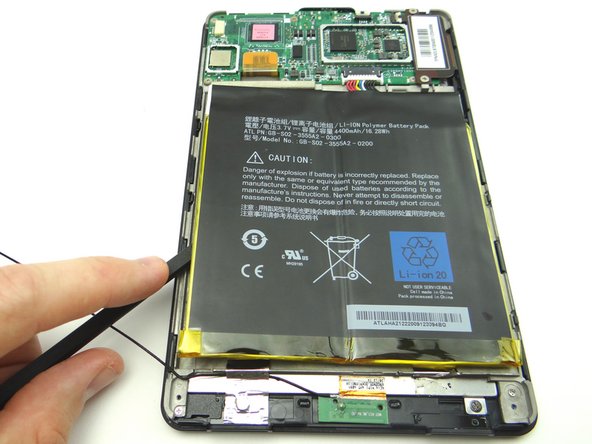
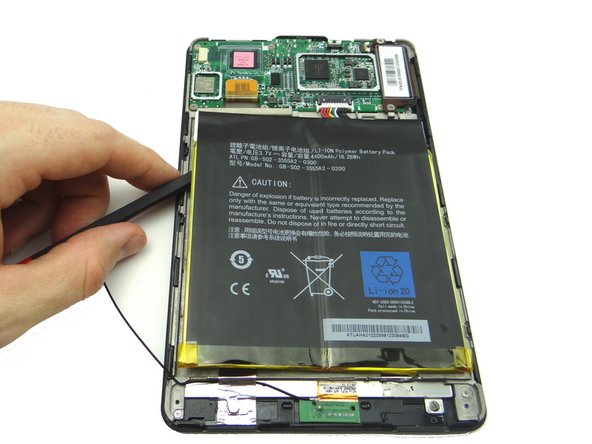
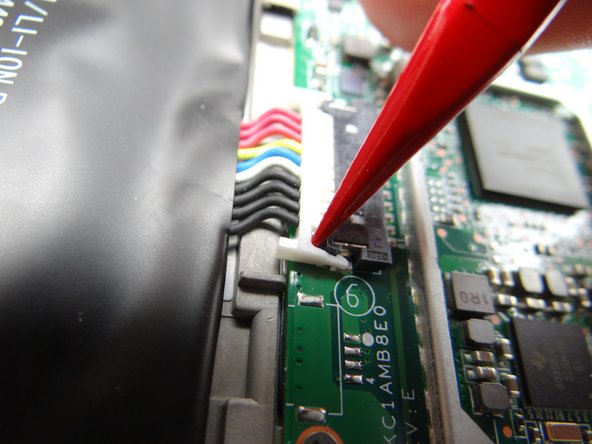
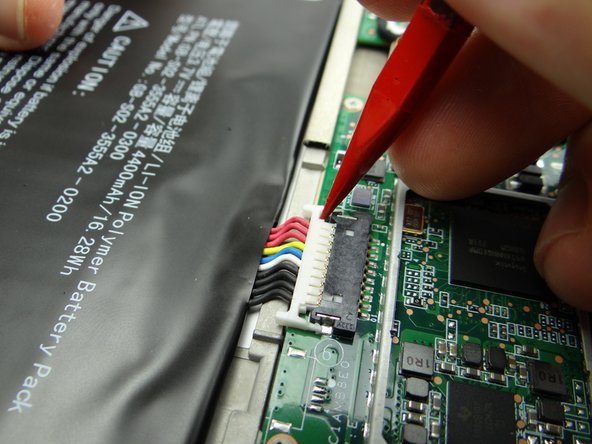
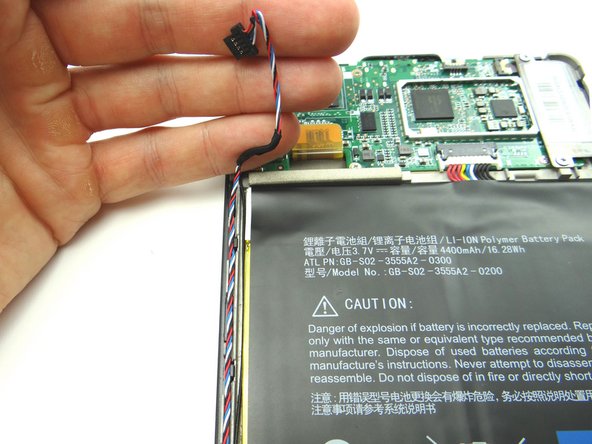
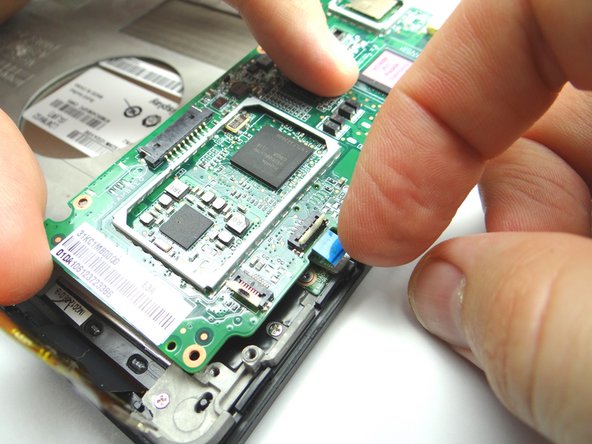
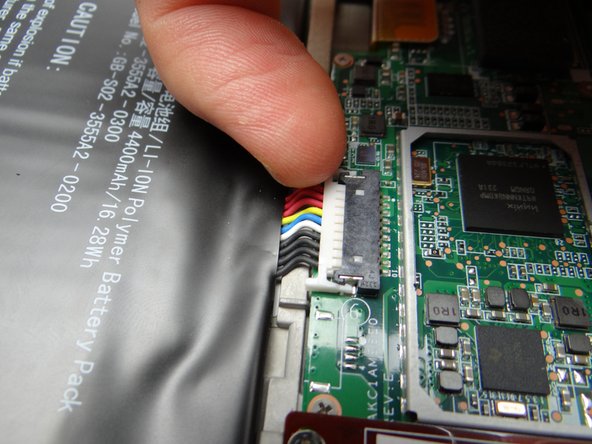
Disconnect the battery:
-
Pictures 1 & 2: Wedge the pointed end of the spudger on either side of the battery connector to unhook it.
-
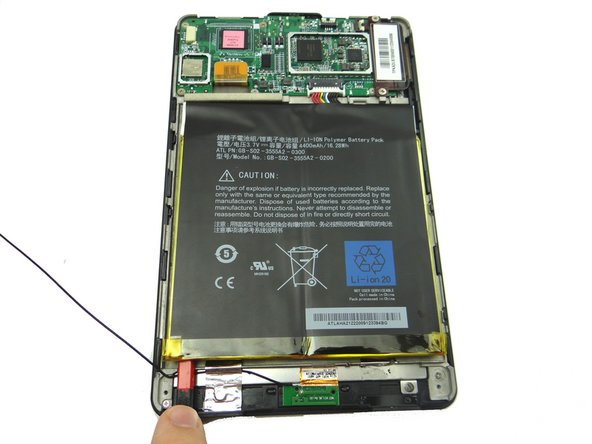
Picture 3: Make sure both sides are unhooked while pulling the battery up and away from the Kindle. Place the battery in ZONE V with the battery cover.
-
-
-
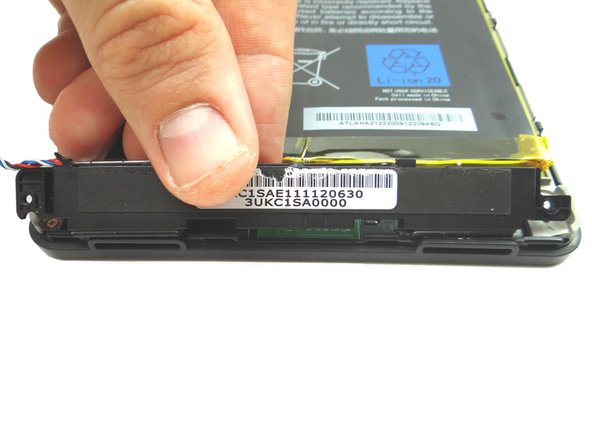
Picture 1: Peel up foam tape covering the speaker connector. Place in COMPARTMENT A.
-
Picture 2: Wedge your fingers in the notches between the black speaker cable head and the white speaker connector. Pull the black speaker cable head free.
-
Use a blue pry tool if you can't fit your fingers in the notches.
-
Picture 3: Unthread the speaker cable.
-
-
-
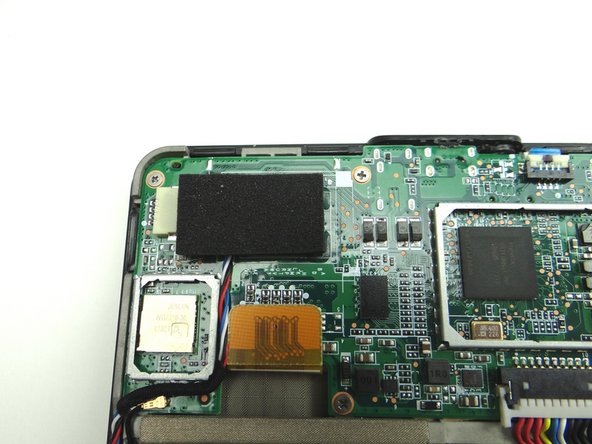
Remove two 3.3 mm Phillips #00 screws securing the speaker assembly. Place in SLOT 1.
-
Remove speaker assembly and place in ZONE I.
-
-
-
Replace speaker assembly from ZONE I.
-
Replace two 3.3 mm Phillips #00 screws securing the speaker assembly from SLOT 1.
-
-
-
Picture 1: Thread speaker cable through the track just left of the battery.
-
Picture 2: Push speaker cable connector into place.
-
Replace foam tape from COMPARTMENT A.
-
-
-
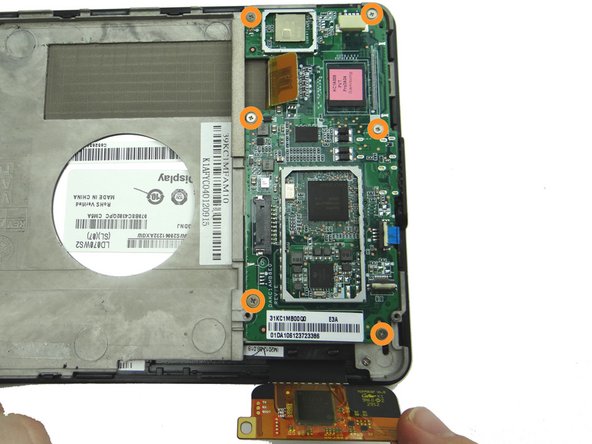
Replace logic board from ZONES II & III. Guide the charging port and headset jack in first:
-
Picture 1: Shows the charging port and headset jack on the bottom of the logic board.
-
Picture 2: Shows the openings for the headset jack and charging port.
-
Picture 3: Guide the charging port and headset jack in.
-
Make sure the power button cable doesn't get stuck under the logic board.
-
-
-
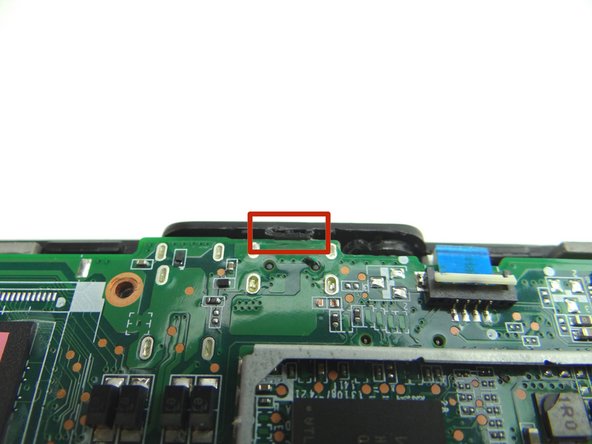
Pictures 1 & 2: Seat power button cable then gently push the logic board into place. Make sure the logic board is situated under the clip marked in Picture 2.
-
Picture 3: From SLOT 3, replace six 2.6 mm Phillips screws.
-
-
-
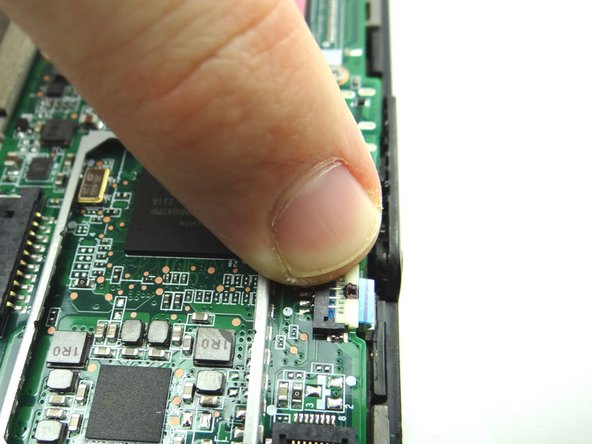
Make sure power button cable is pushed in all the way. Close ZIF connector.
-
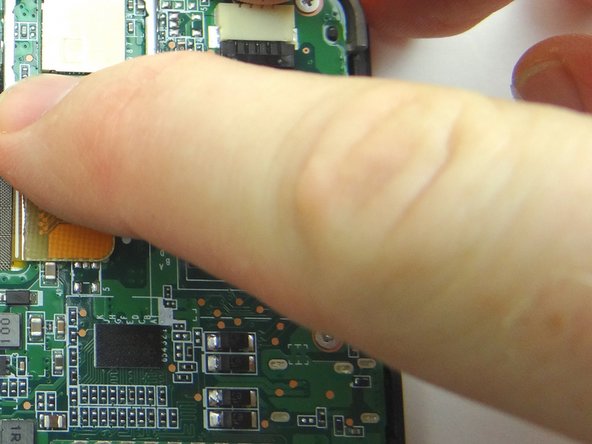
Seat LCD cable.
-
-
-
Picture 1: Guide digitizer cable into ZIF connector.
-
Picture 2: From SLOT 2, replace two 2.3 mm Phillips screws to secure the digitizer cable.
-
Picture 3: Close ZIF connector.
-
-
-
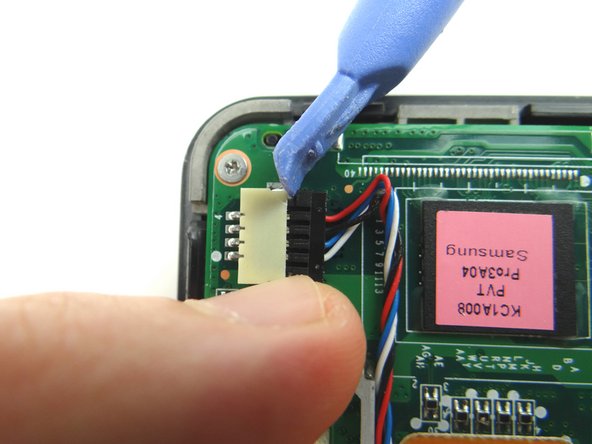
Seat the battery from ZONE V while guiding the battery connector into its socket.
-
Push connector in until it snaps into place.
-
-
-
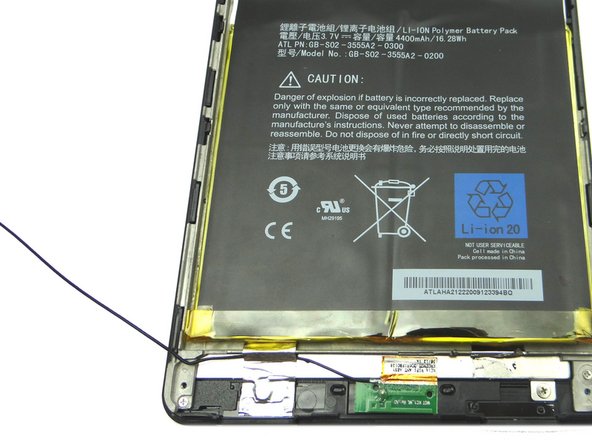
Thread antenna along the left edge of the battery.
-
Seat antenna on logic board.
-
-
-
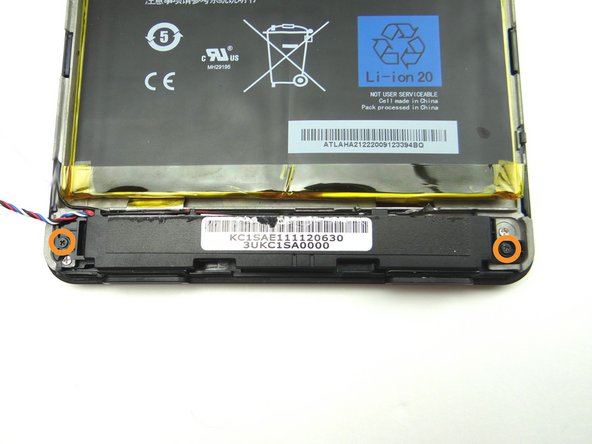
From ZONE V, secure the battery cover to the Kindle.
-
Start with the two tabs on either side of the charging port.
-
-
-
Push the bottom into place and work your way to the top.
-
-
-
Power up the device and test the replacement part or parts.
-