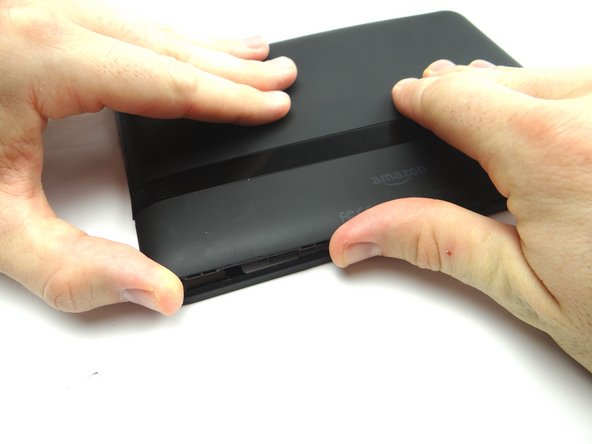
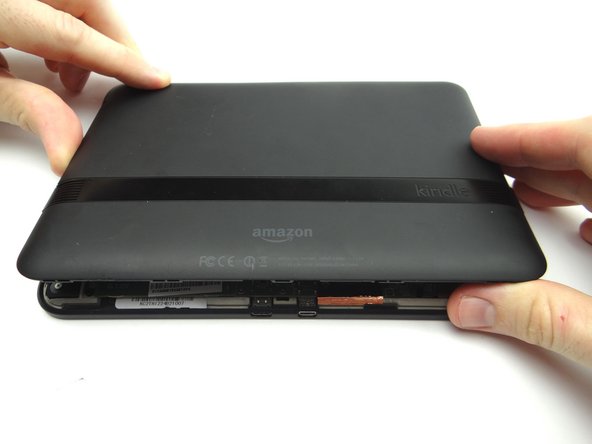
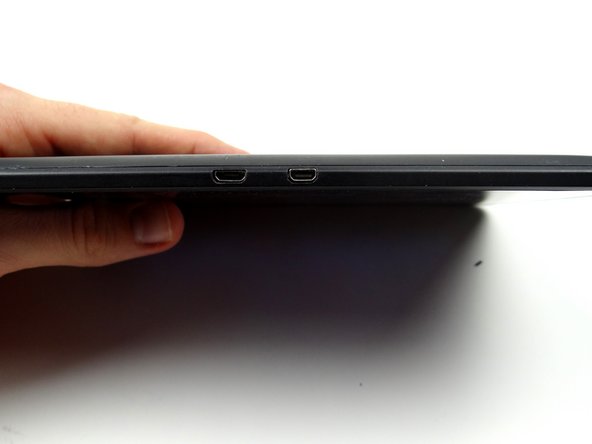
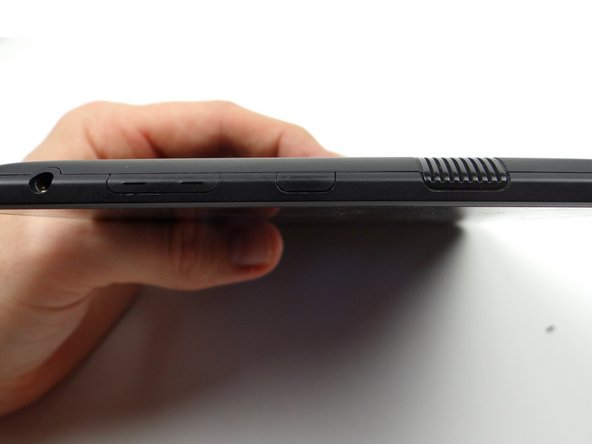
1. Picture 1: Insert the blue pry tool between the front panel and battery cover, with the the tip face down, an inch left of the charging port.  Pop up the cover just enough to reinsert the blue pry tool face up. Pictures 2 & 3: Insert the blue pry tool face up an inch left of the charging port.  Twist until you can grab the battery cover with your fingers. Pictures 2 & 3: Insert the blue pry tool face up an inch left of the charging port.  Twist until you can grab the battery cover with your fingers.
    • Picture 1: Insert the blue pry tool between the front panel and battery cover, with the the tip face down, an inch left of the charging port. Pop up the cover just enough to reinsert the blue pry tool face up.

    • Pictures 2 & 3: Insert the blue pry tool face up an inch left of the charging port. Twist until you can grab the battery cover with your fingers.

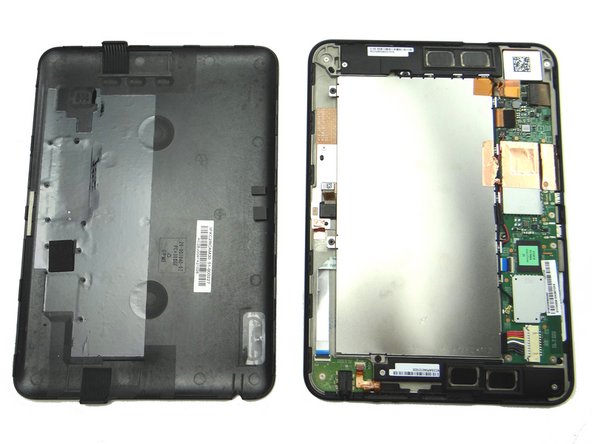
  2. Work your way around the perimeter with your fingers.  Continue peeling the battery cover up until it's free. Place battery cover in ZONE V. Place battery cover in ZONE V.
    • Work your way around the perimeter with your fingers. Continue peeling the battery cover up until it's free.

    • Place battery cover in ZONE V.

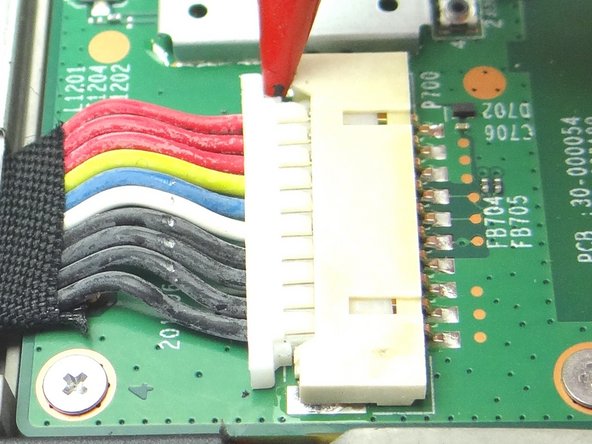
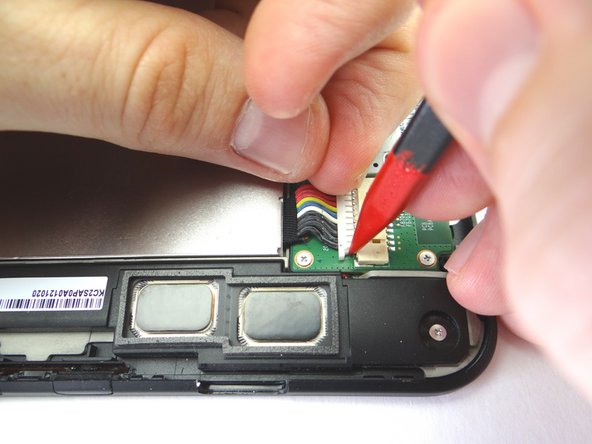
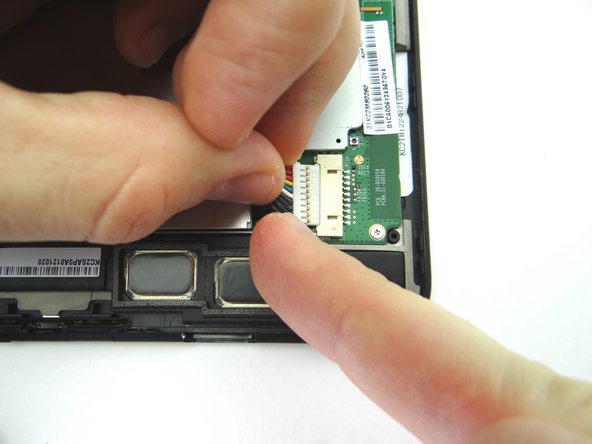
  3. The battery connector is stiff and fragile: Picture 1: Use the pointed end of the spudger to push back the top of the battery connector slightly. Picture 2: Use your finger to put mild tension at the top of the connector while using the spudger to push back the bottom of the connector.
    • The battery connector is stiff and fragile:

    • Picture 1: Use the pointed end of the spudger to push back the top of the battery connector slightly.

    • Picture 2: Use your finger to put mild tension at the top of the connector while using the spudger to push back the bottom of the connector.

    • Picture 3: Finish removing the connector with your fingers.

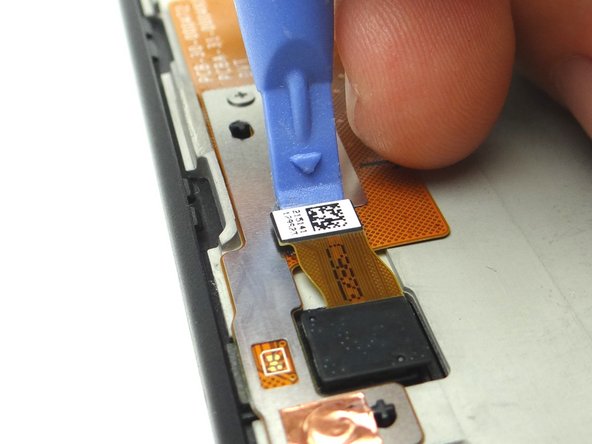
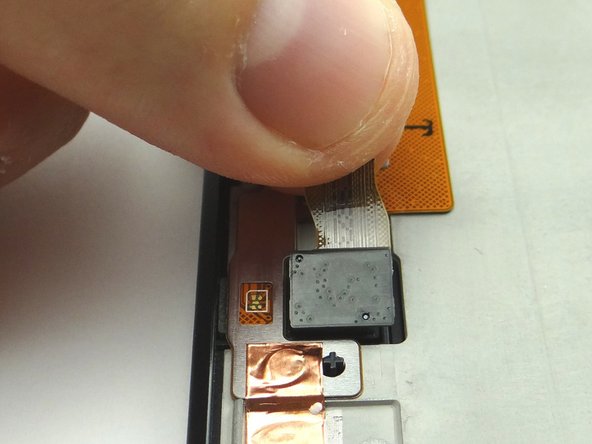
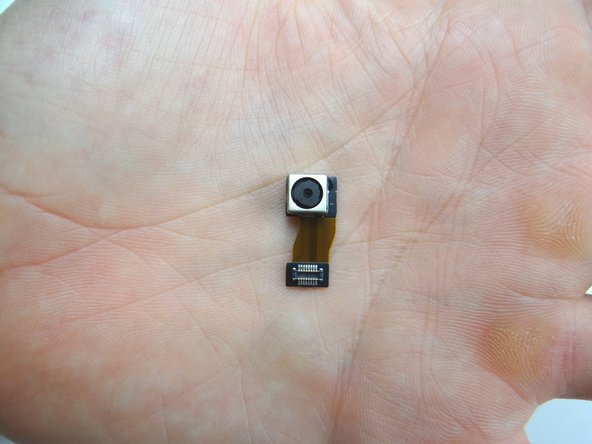
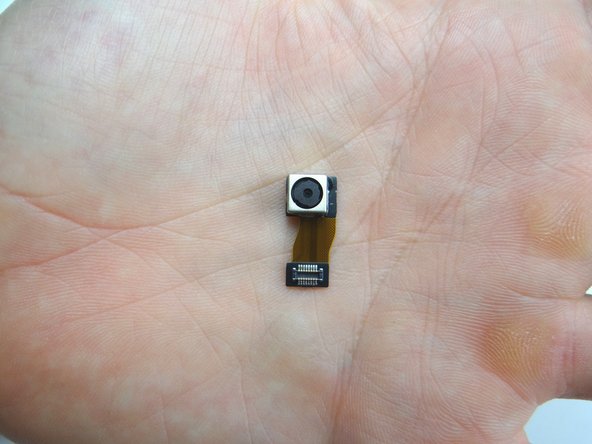
  4. Use blue pry tool to disconnect the camera. Remove it and place it in COMPARTMENT D. Remove it and place it in COMPARTMENT D.
    • Use blue pry tool to disconnect the camera.

    • Remove it and place it in COMPARTMENT D.

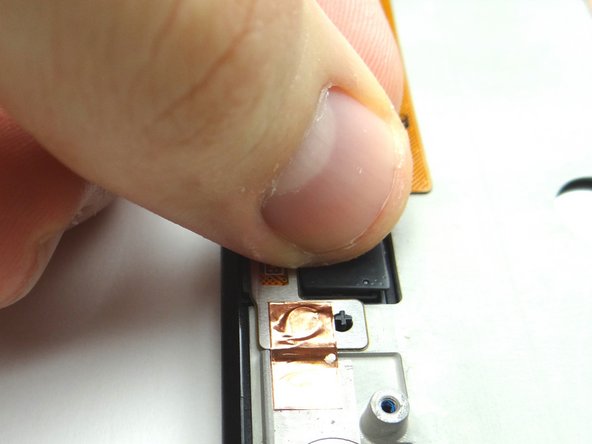
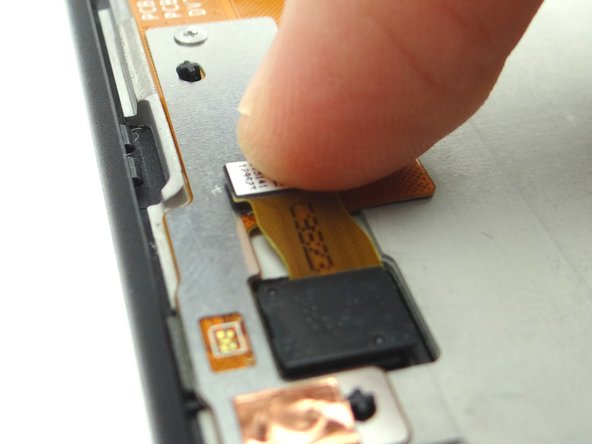
  5. From COMPARTMENT D, replace camera: Seat and connect it. Seat and connect it.
    • From COMPARTMENT D, replace camera:

    • Seat and connect it.

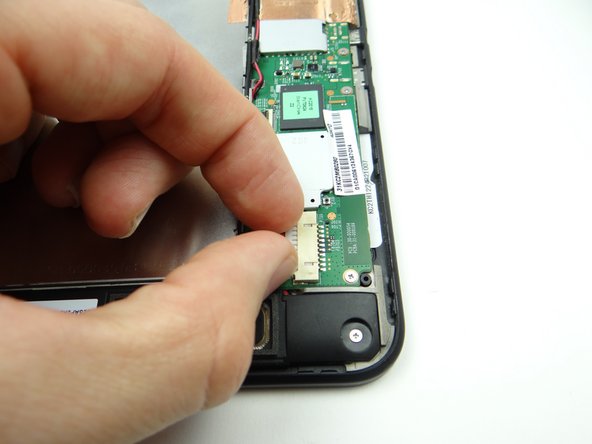
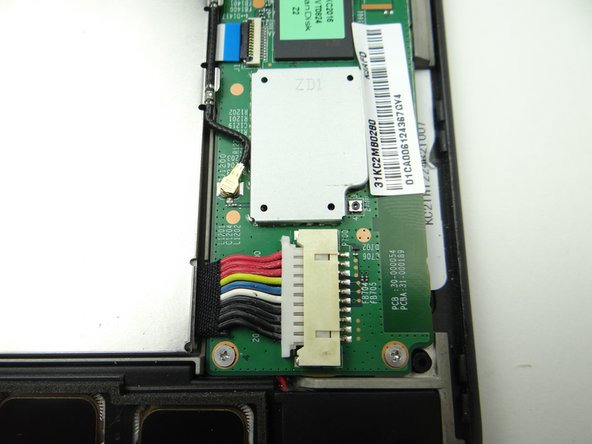
  6. Picture 1: Push both sides of battery connector evenly into the socket. Picture 2: The connector should look like this (cannot see gold contacts) if seated properly.
    • Picture 1: Push both sides of battery connector evenly into the socket.

    • Picture 2: The connector should look like this (cannot see gold contacts) if seated properly.

  7. Push battery cover back onto Kindle. Push battery cover back onto Kindle.
    • Push battery cover back onto Kindle.

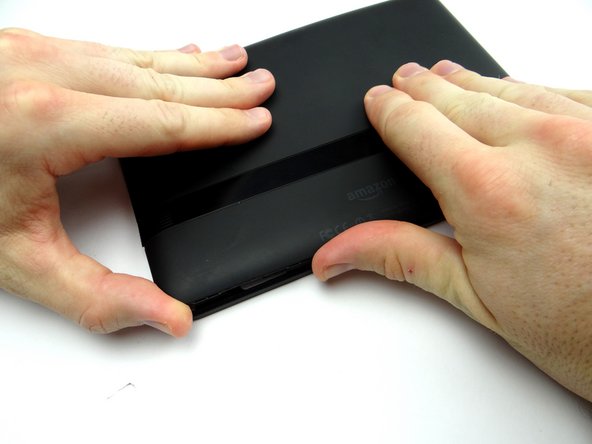
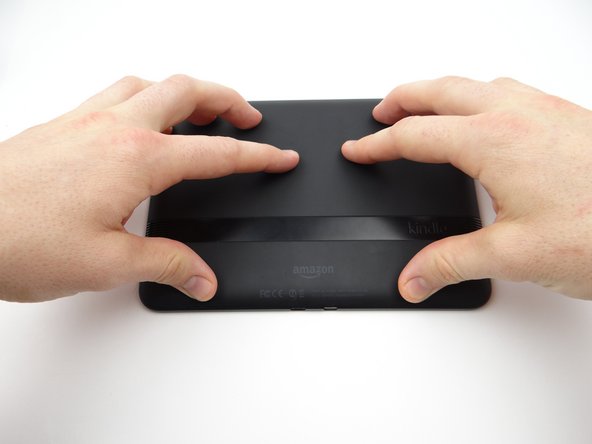
  8. Pictures 1 & 2: Check around the edges for gaps between the battery cover and front panel. Picture 3: Power up and test device. Picture 3: Power up and test device.
    • Pictures 1 & 2: Check around the edges for gaps between the battery cover and front panel.

    • Picture 3: Power up and test device.

Finish Line

James Linder

Member since: 01/24/2013

71,591 Reputation

217 Guides authored

0 Comments

Add Comment

View Statistics:

Past 24 Hours: 0

Past 7 Days: 0

Past 30 Days: 0

All Time: 35

CELL PHONE SANDBOX