-
-
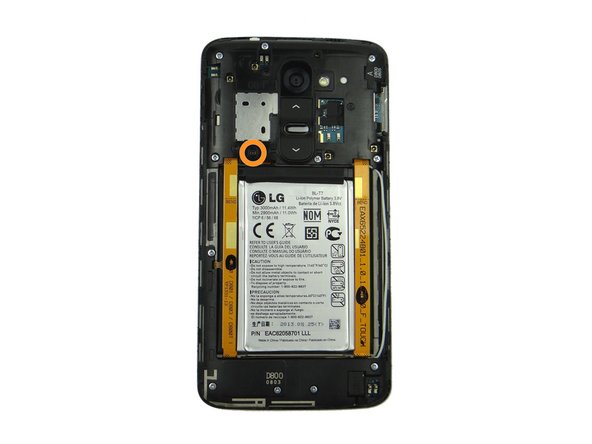
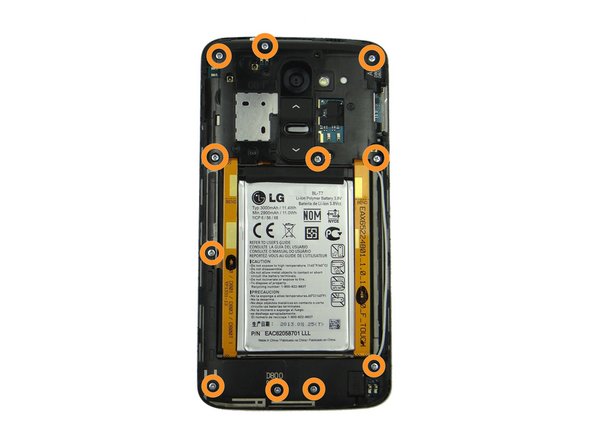
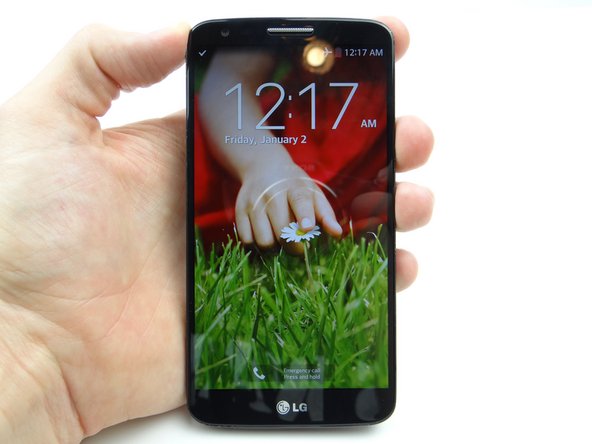
Power down device.
-
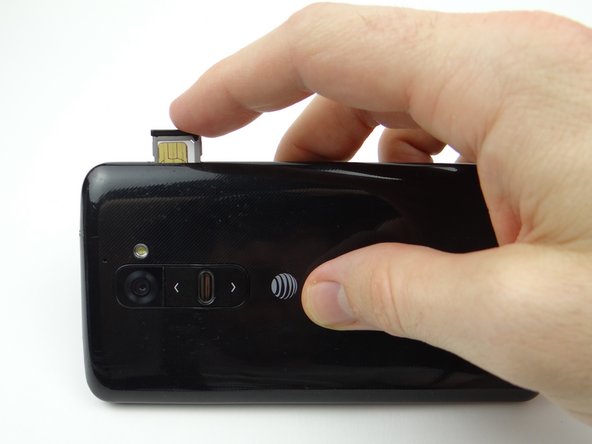
Remove SIM Card and Tray. Place both in COMPARTMENT A.
-
-
-
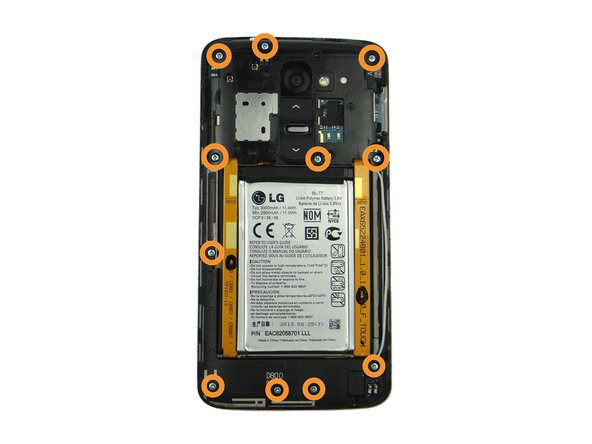
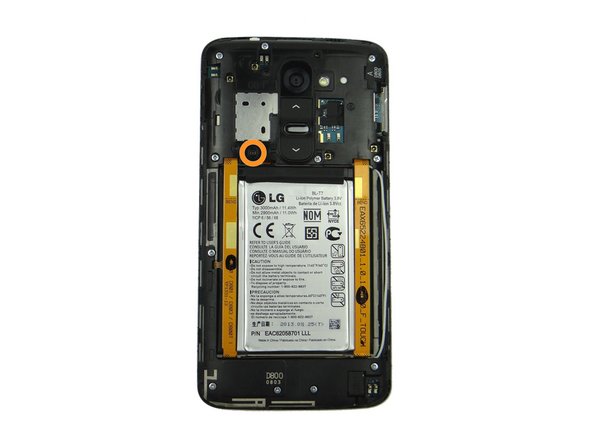
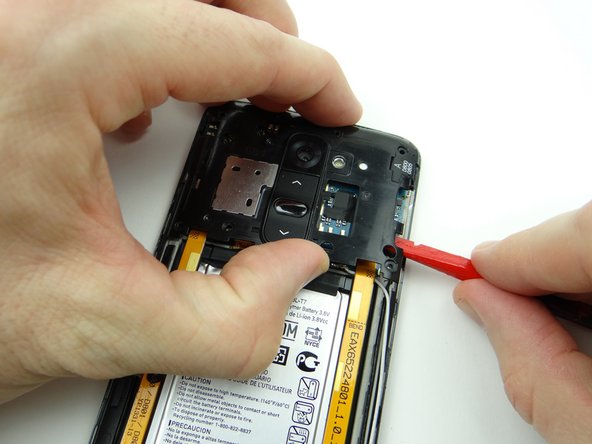
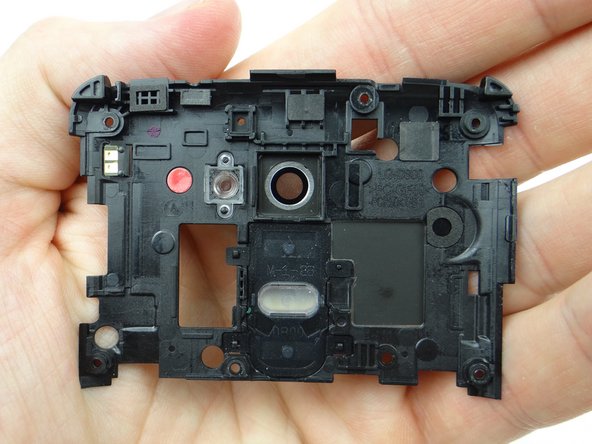
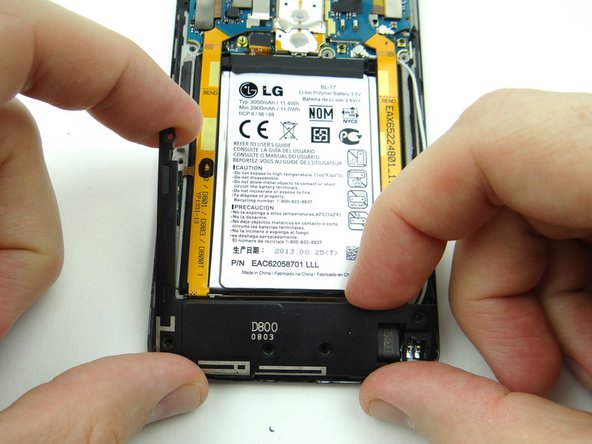
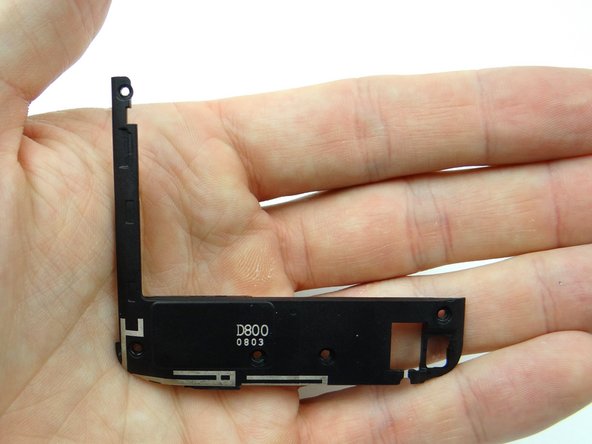
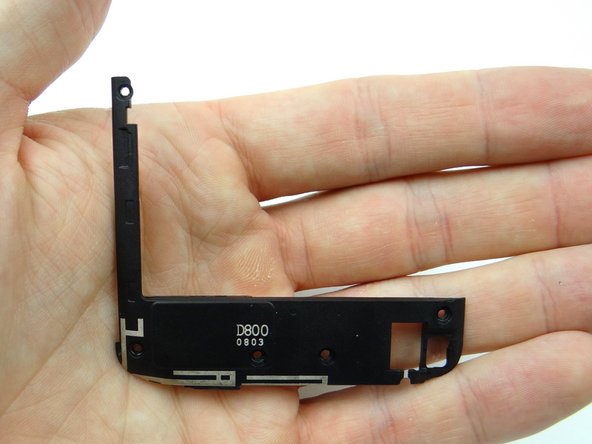
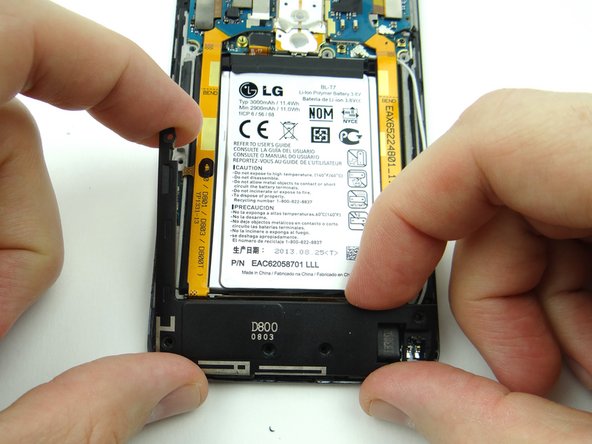
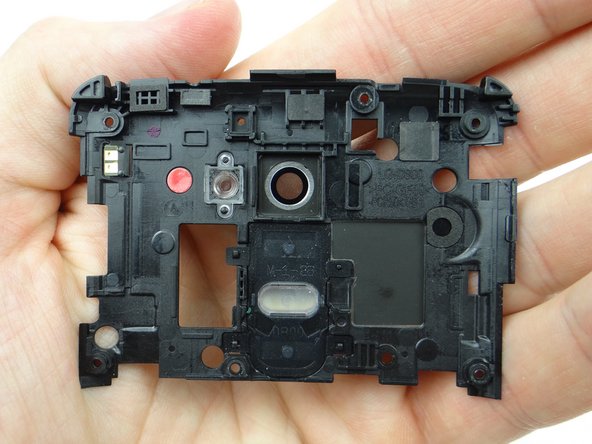
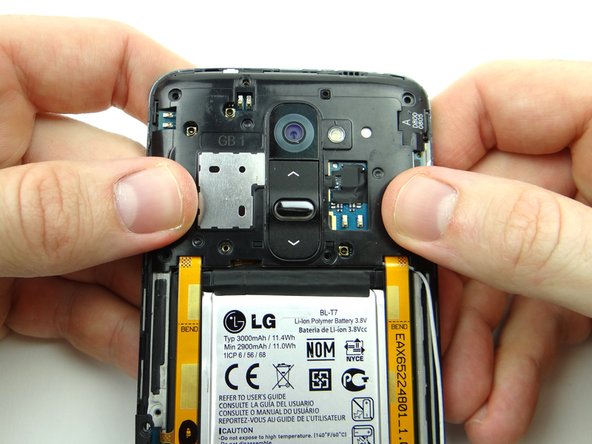
Lift the loudspeaker & antenna housing away from the phone.
-
Place in ZONE II.
-
-
-
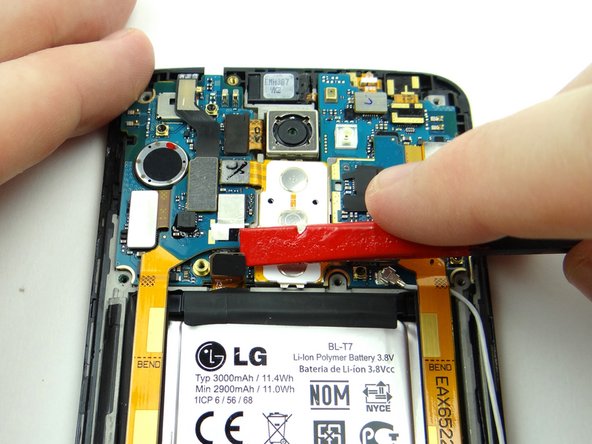
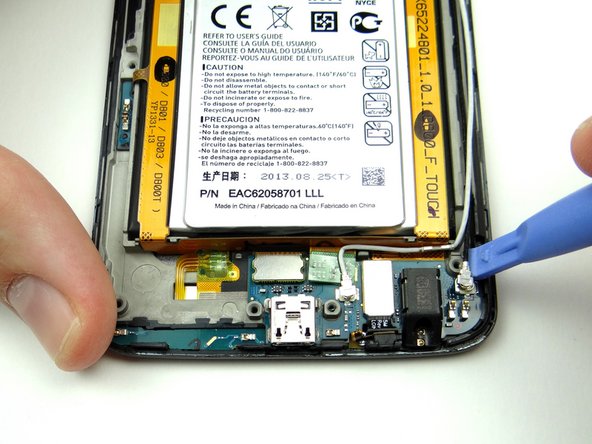
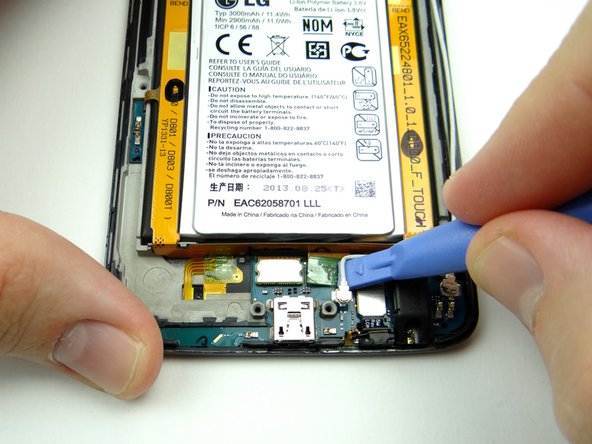
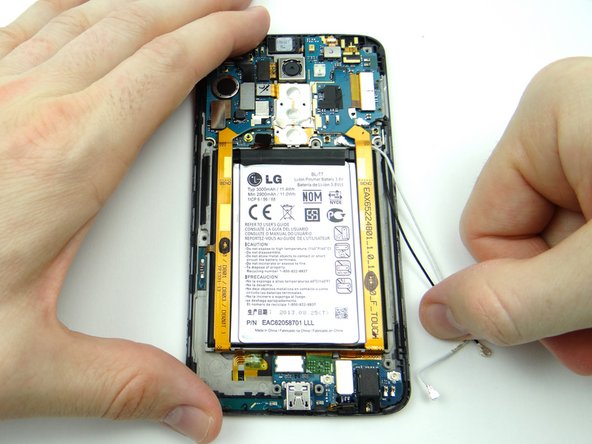
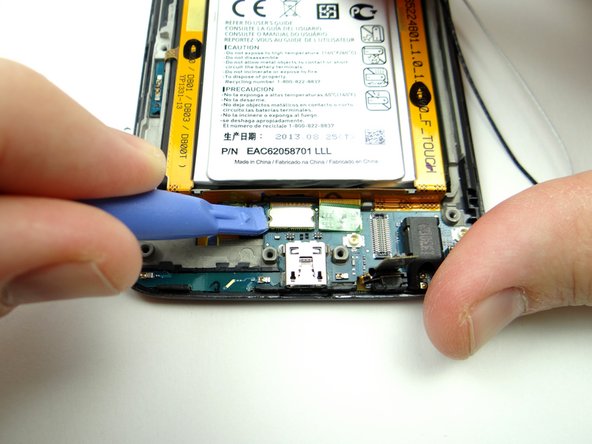
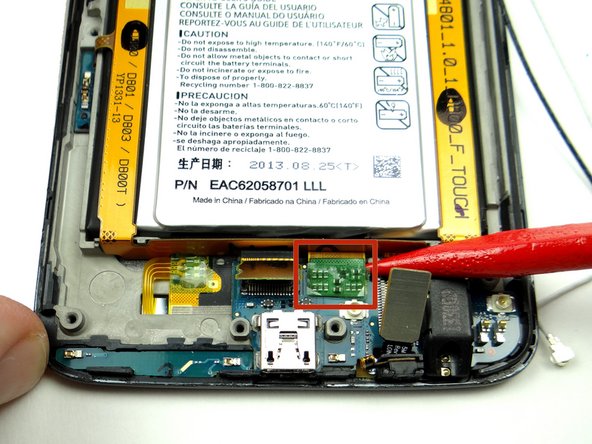
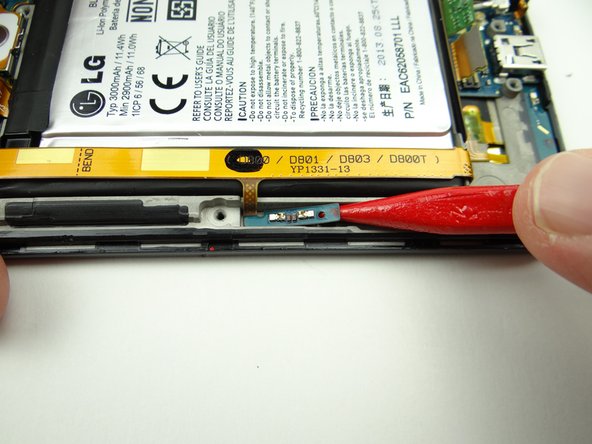
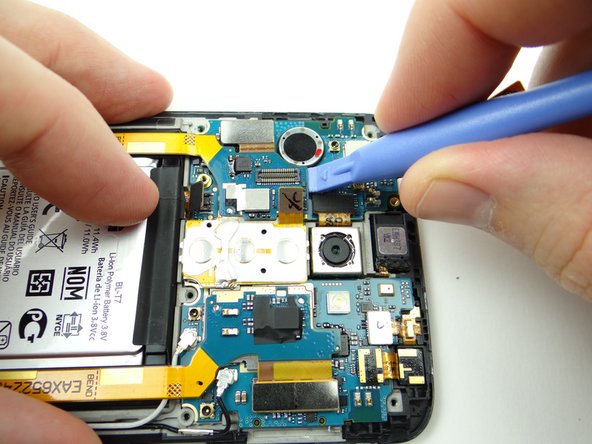
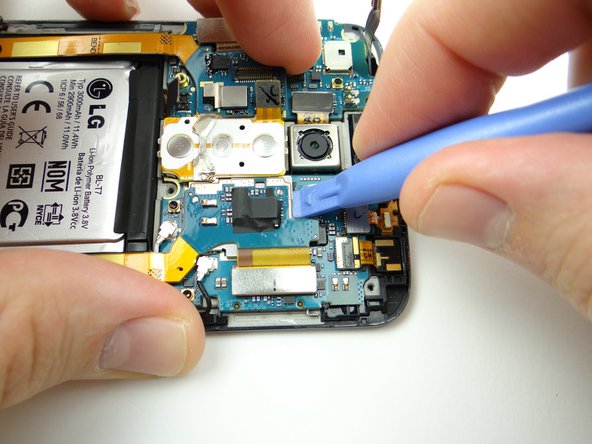
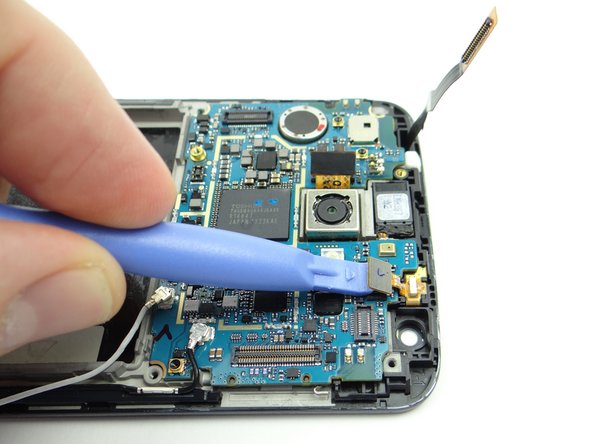
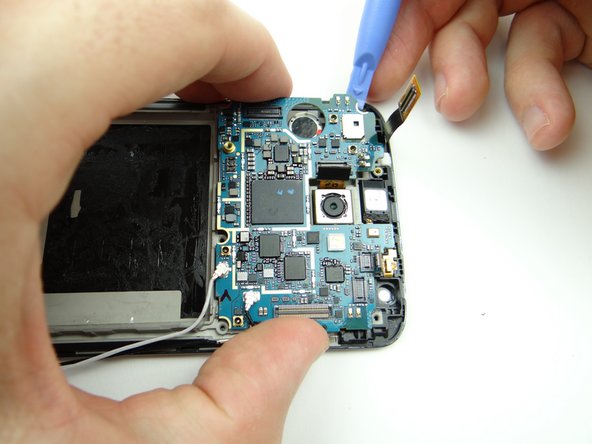
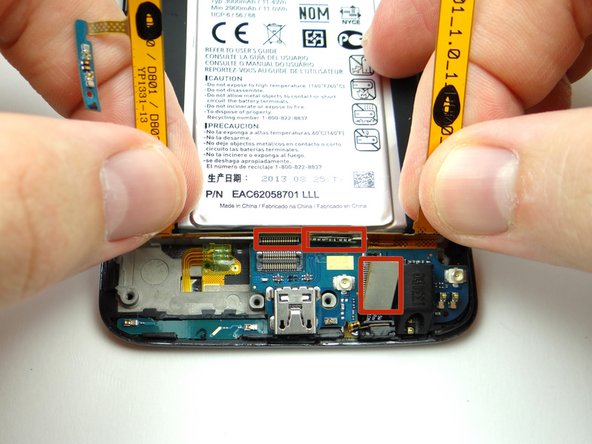
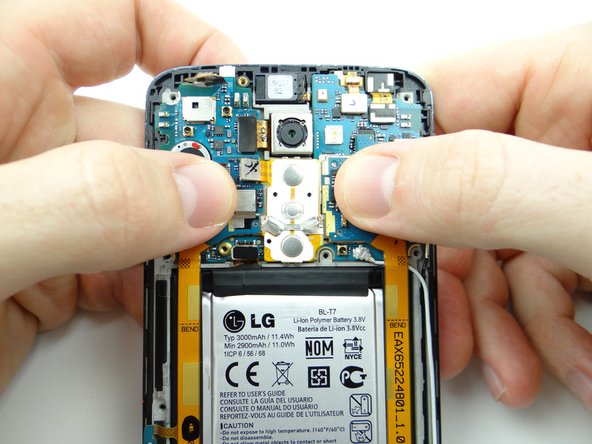
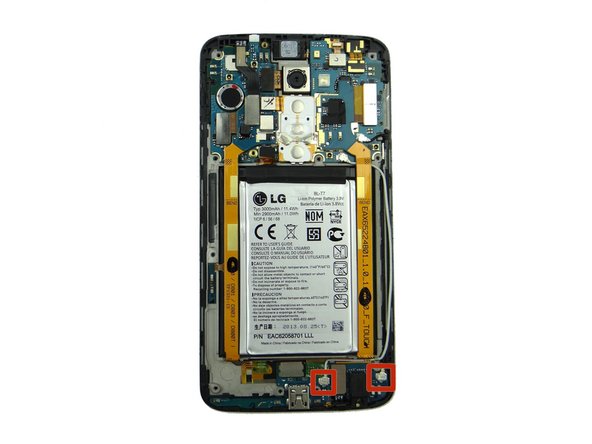
Pictures 1 & 2: Use the blue pry tool to disconnect two antenna cables.
-
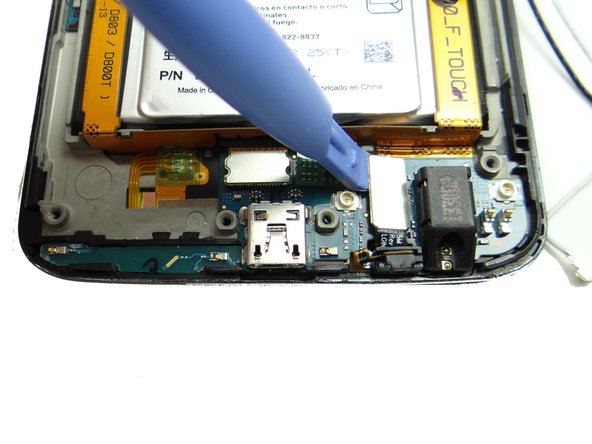
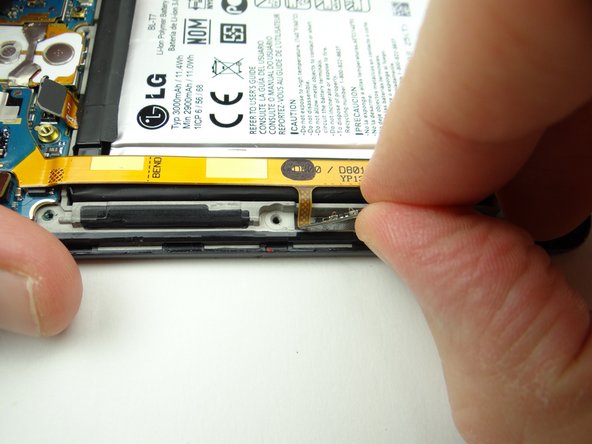
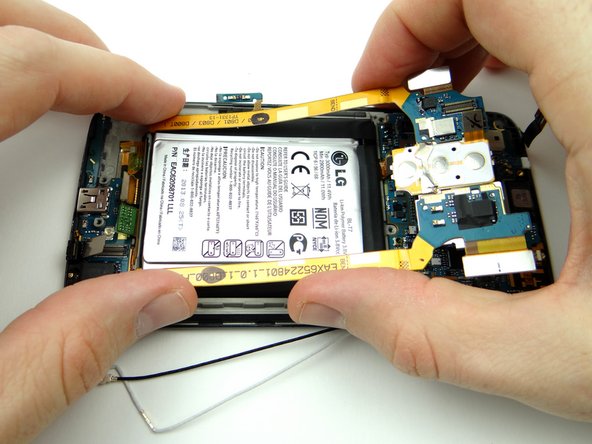
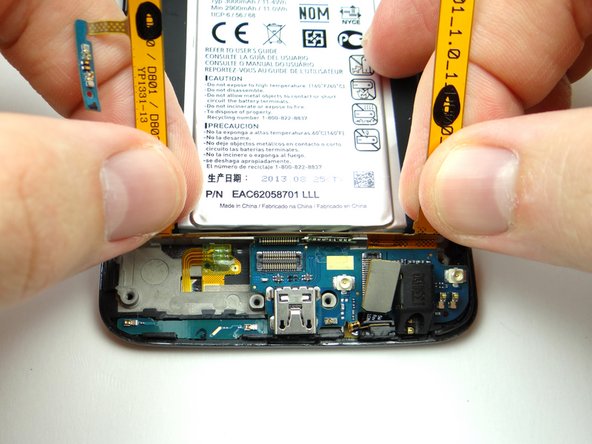
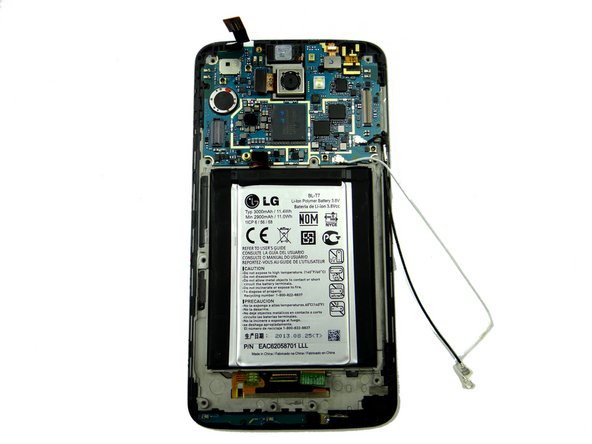
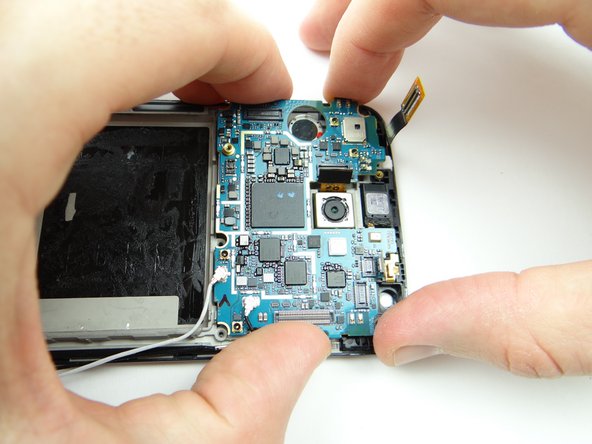
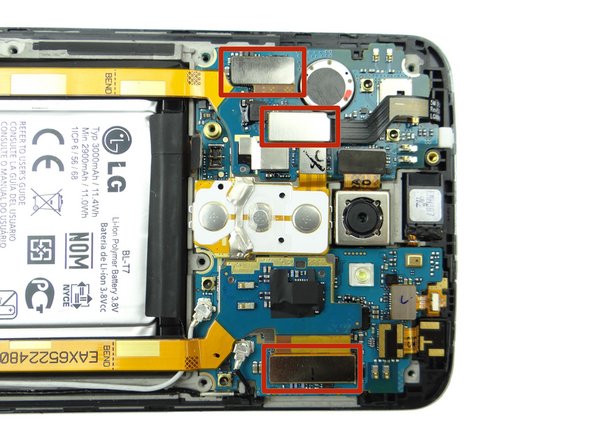
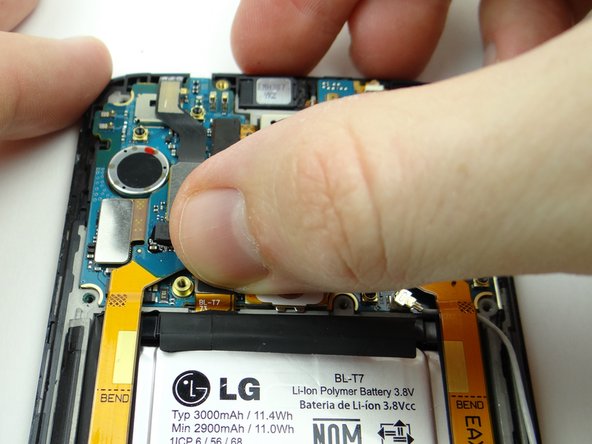
Picture 3: Move the antenna cables to the side.
-
-
-
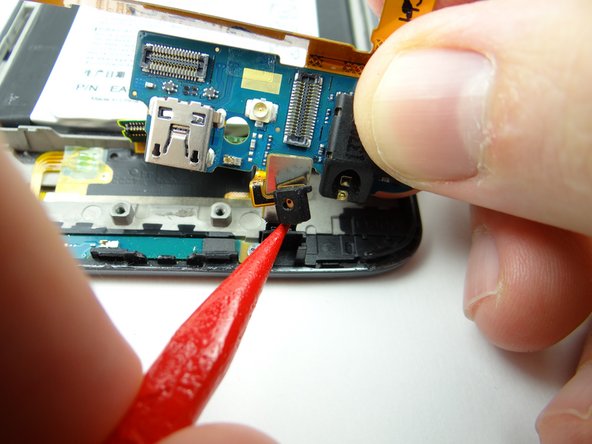
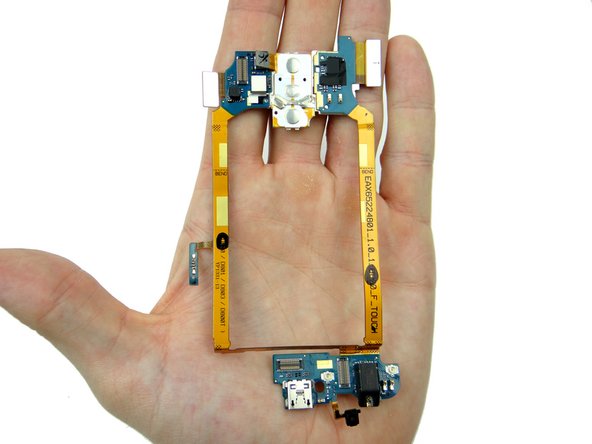
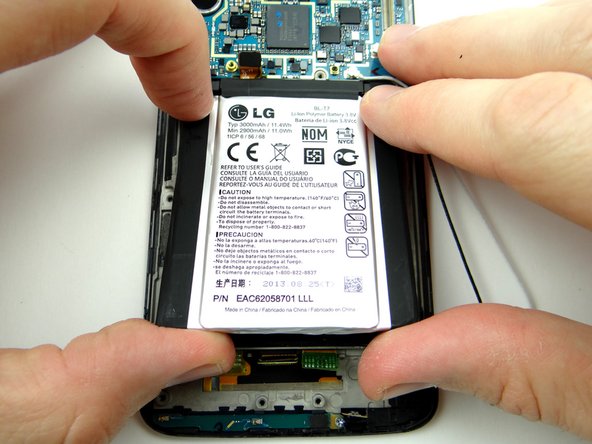
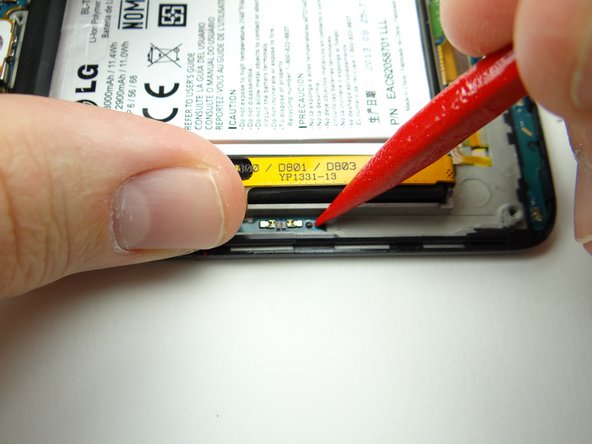
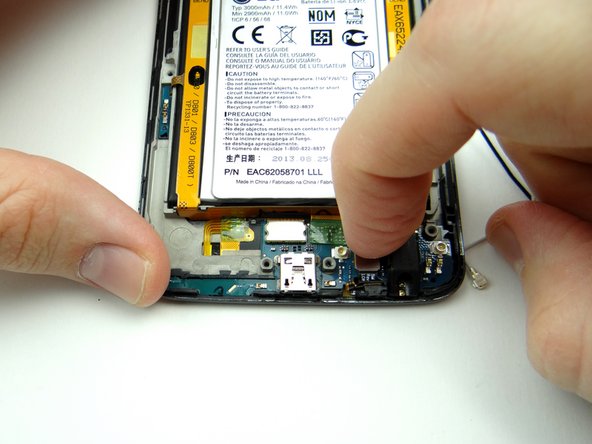
Picture 1: Pinch the daughter board near the bottom of the battery and continue lifting it away from the mid-frame.
-
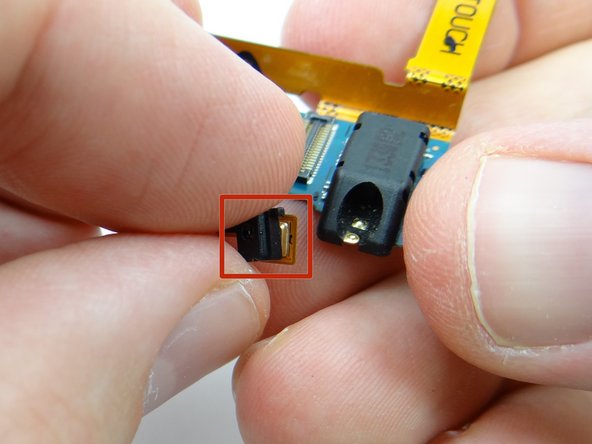
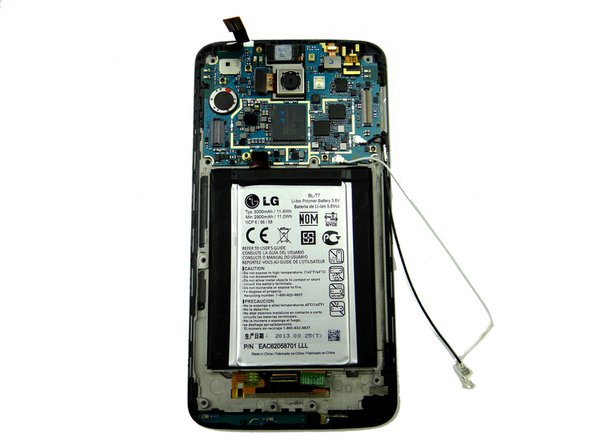
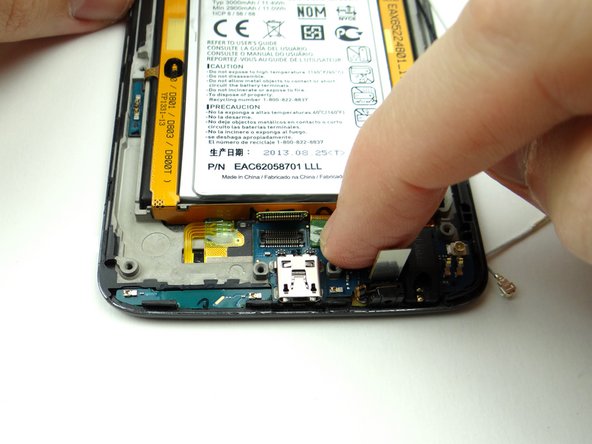
Picture 2: It may get stuck when you reach the microphone socket. Use the pointed tip of the spudger to lift the microphone.
-
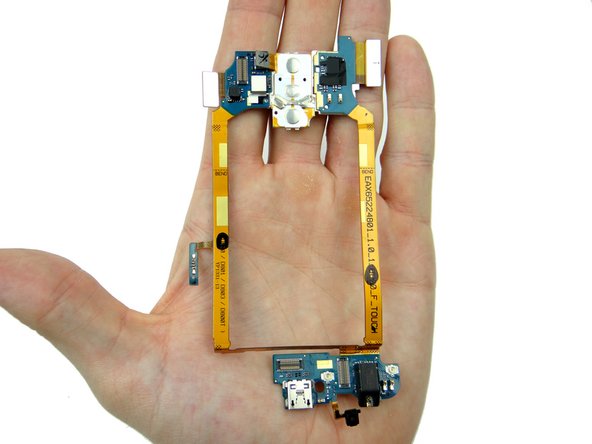
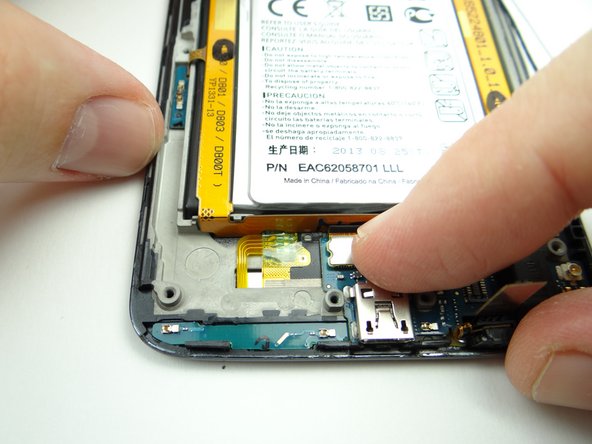
Picture 3: Make sure the tiny black microphone cover stays positioned over the microphone.
-
-
-
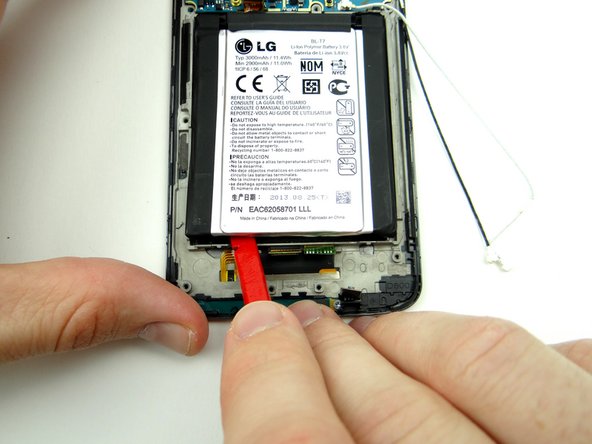
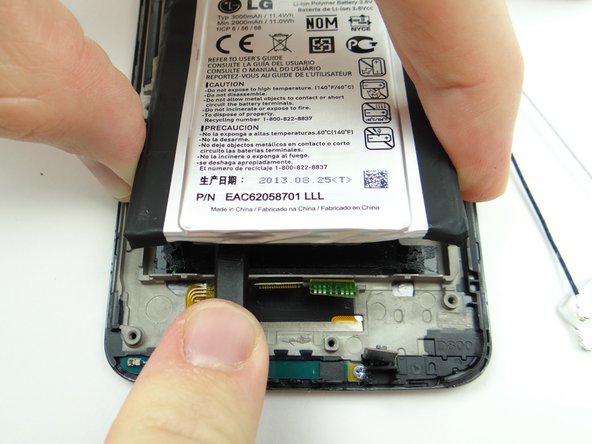
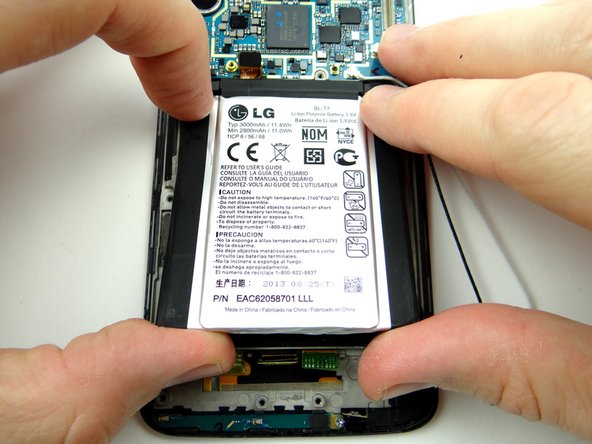
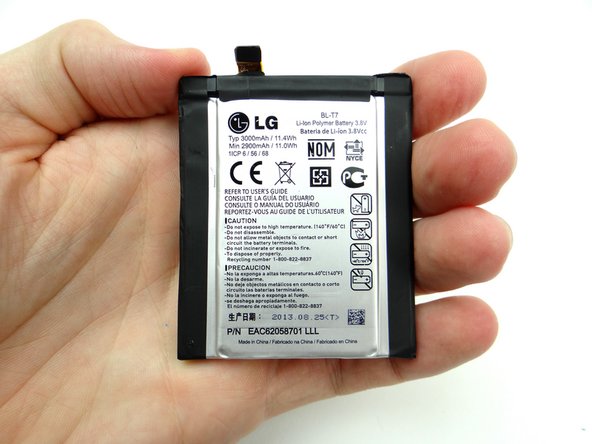
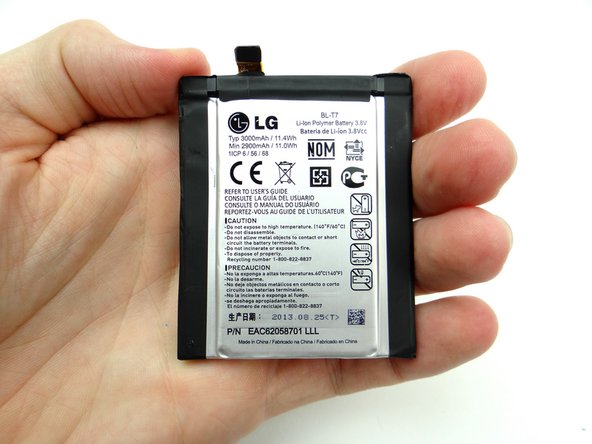
The underside of the battery is covered in adhesive:
-
Use the flat end of the spudger to work your way through the adhesive.
-
-
-
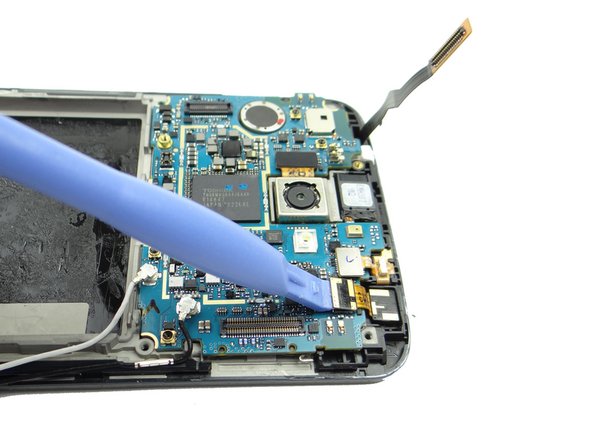
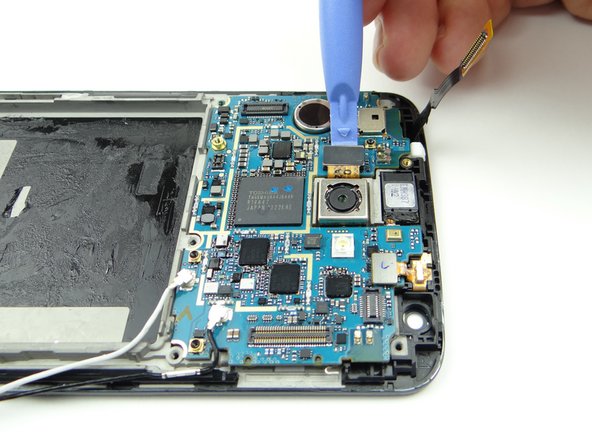
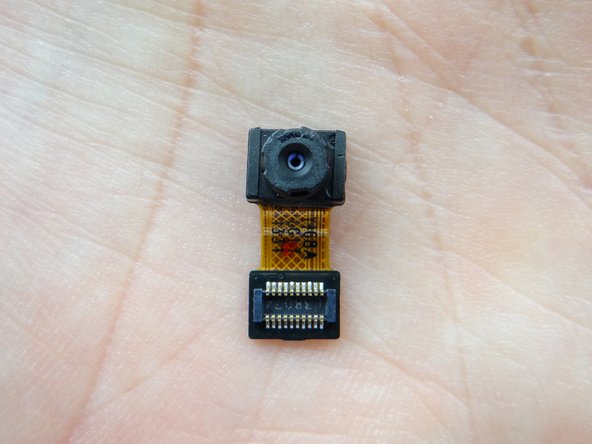
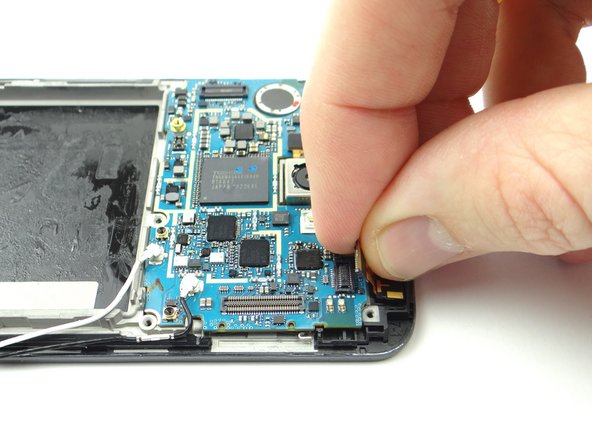
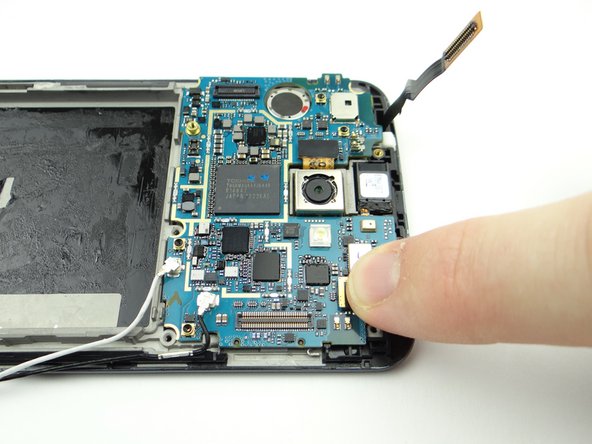
Use the blue pry tool to disconnect the front-facing camera.
-
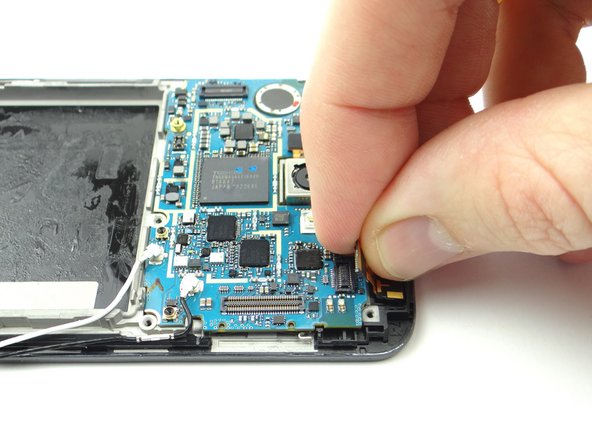
Finish removing it with your fingers.
-
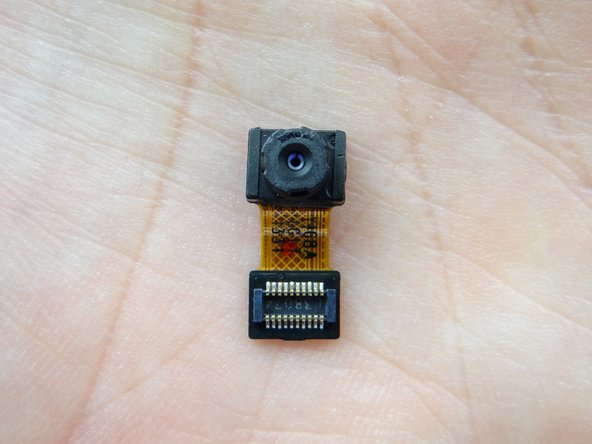
Place in COMPARTMENT B.
-
-
-
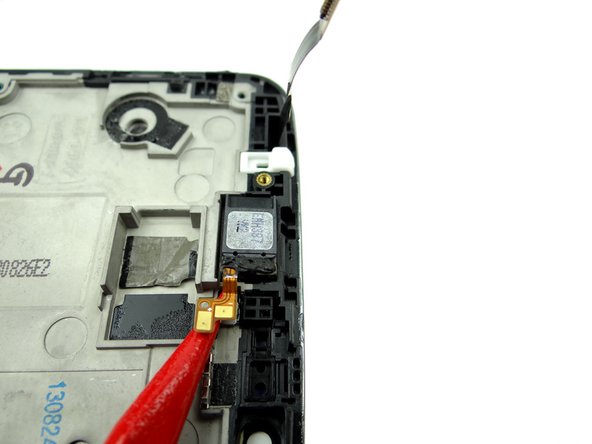
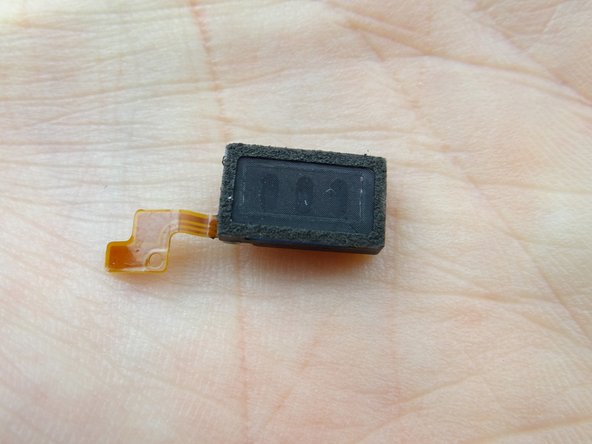
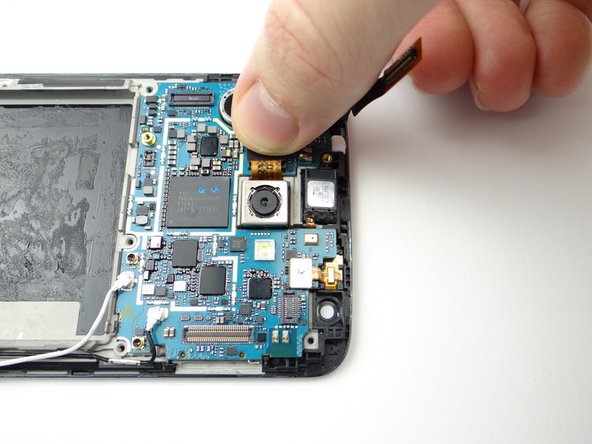
Use the pointed tip of the spudger to wedge under the earpiece speaker cable.
-
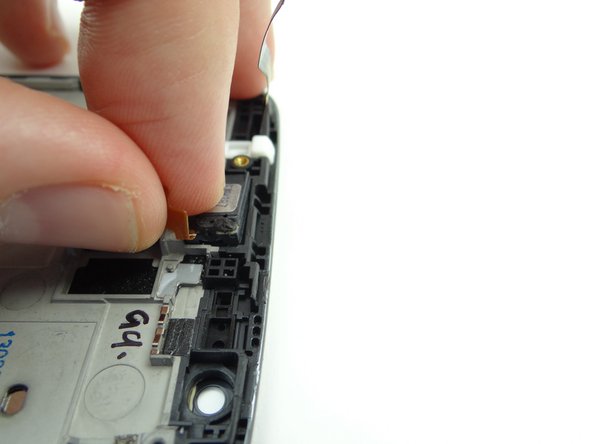
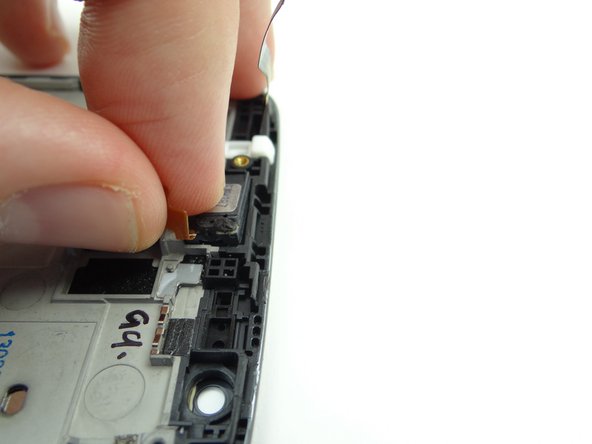
Pinch the cable and slowly peel the earpiece speaker from its socket.
-
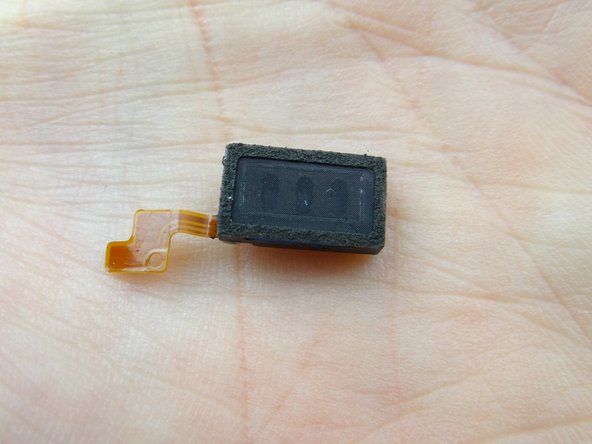
Place the earpiece speaker in COMPARTMENT D.
-
-
-
Replace the earpiece speaker from COMPARTMENT D:
-
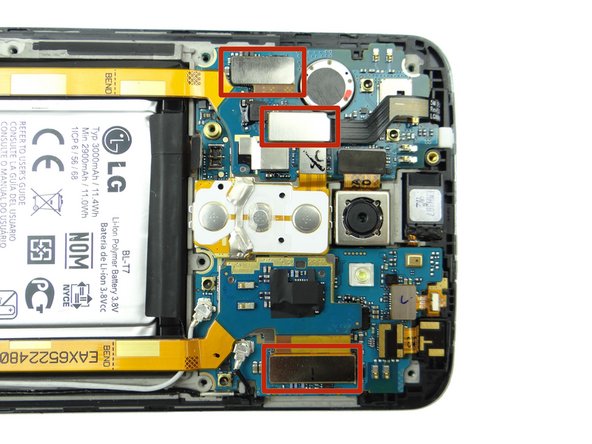
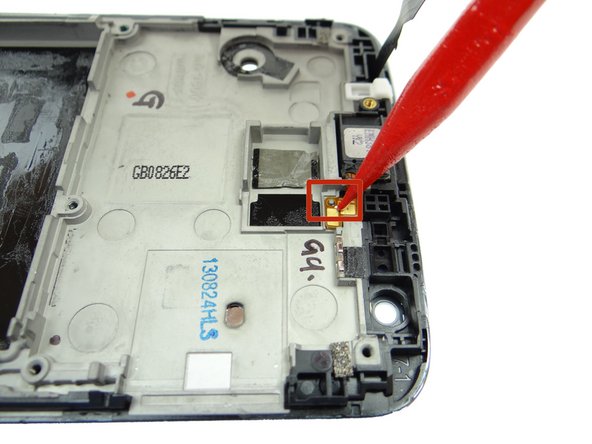
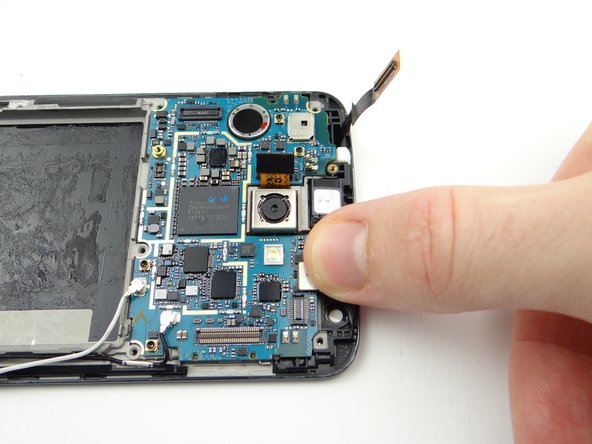
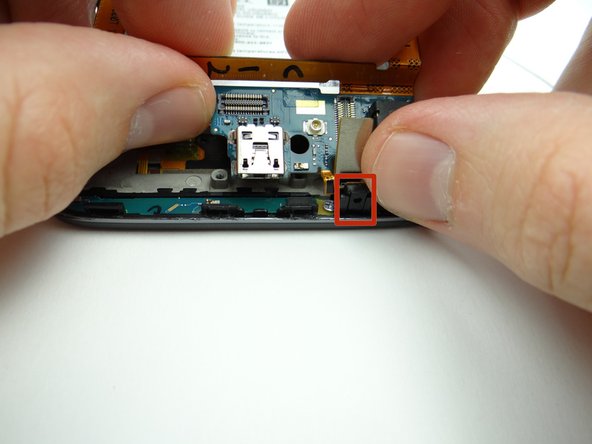
Place the speaker in its socket. Then place the cable over the tab on the mid-frame (red square in Picture 3) and push it into place.
-
-
-
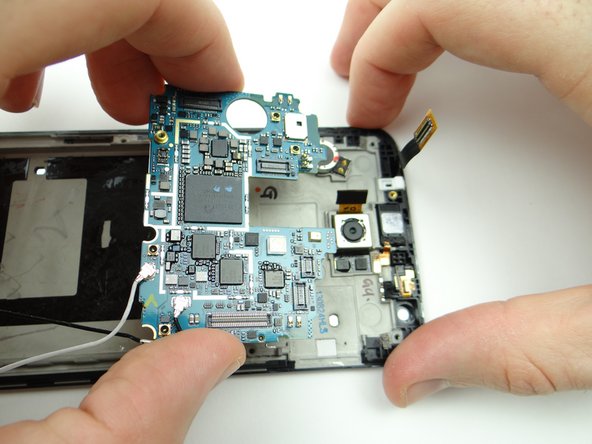
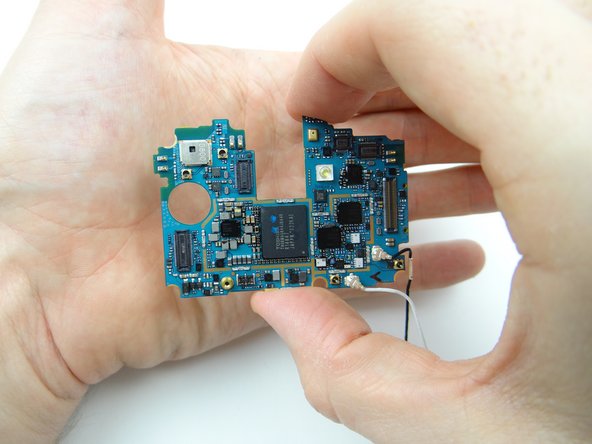
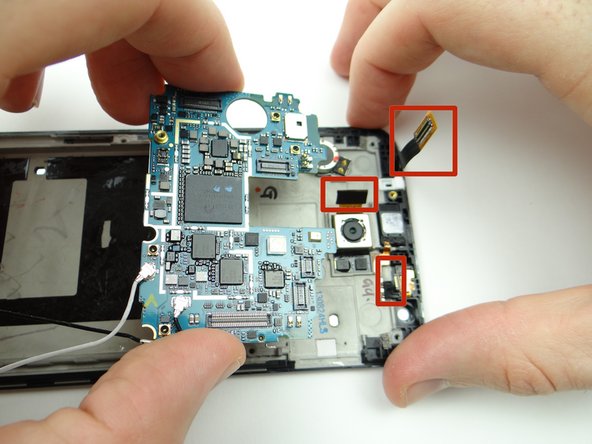
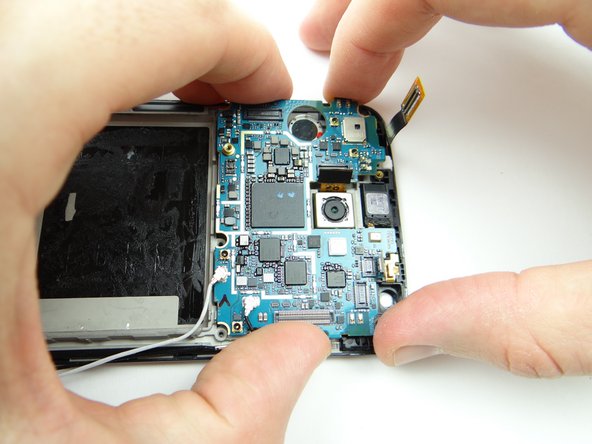
Replace the logic board from ZONE V:
-
Make sure no cables get trapped as you move the logic board into place.
-
Make sure the logic board is properly aligned as you gently push it into place.
-
-
-
Replace front-facing camera from COMPARTMENT B:
-
Place it in the socket and connect the cable.
-
-
-
Replace daughter board from ZONE III:
-
Push the microphone into its socket first.
-
Make sure the display cables don't get trapped under the daughter board as you push the bottom into place.
-
-
-
Replace loudspeaker & antenna housing from ZONE II:
-
Snap it into place at the bottom of the phone.
-
-
-
Replace rear housing from ZONE II:
-
Snap it into place at the top of the phone.
-
Almost done!
Finish Line


