-
-
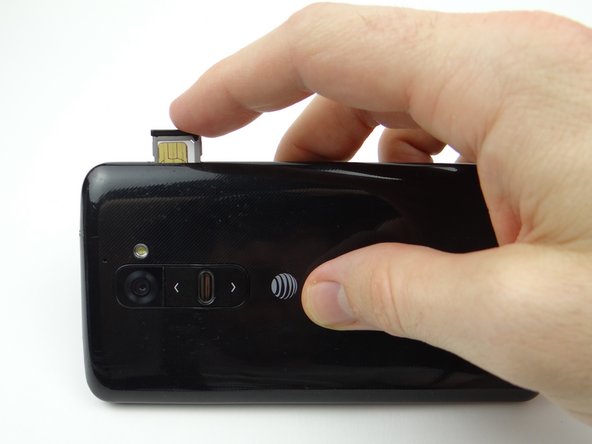
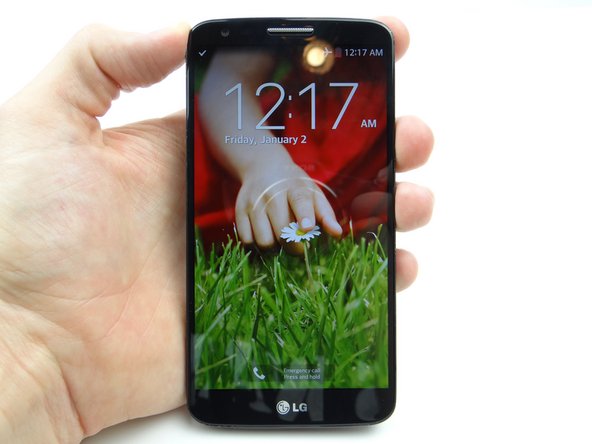
Power down device.
-
Remove SIM Card and Tray. Place both in COMPARTMENT A.
-
-
-
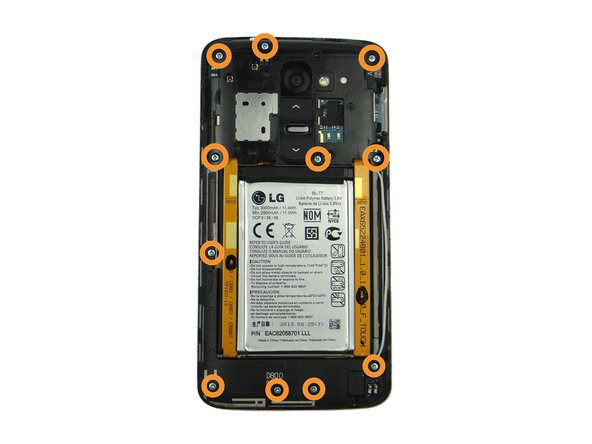
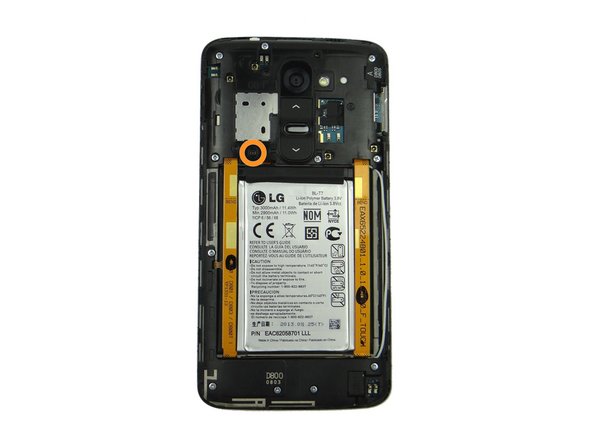
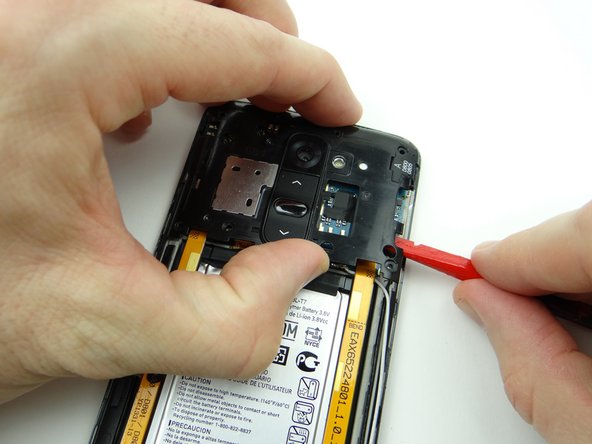
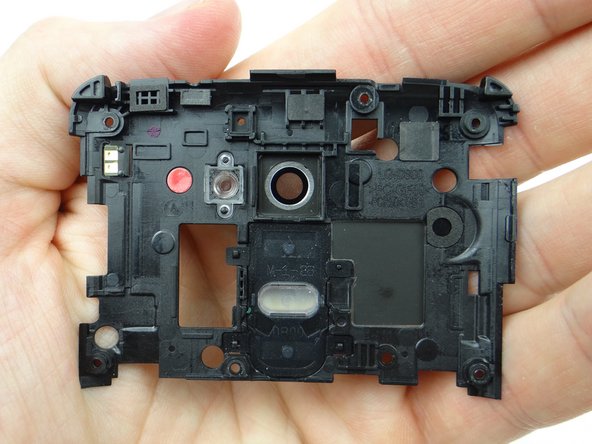
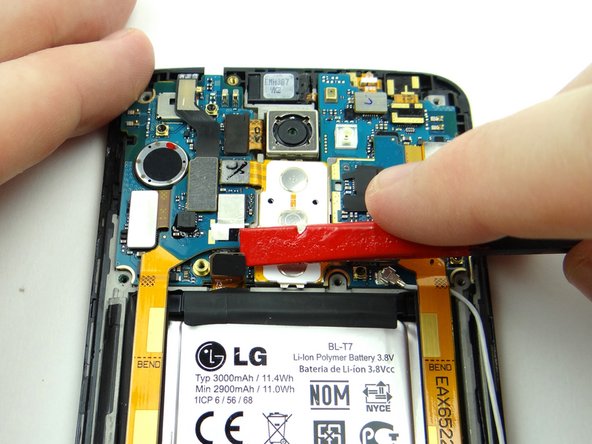
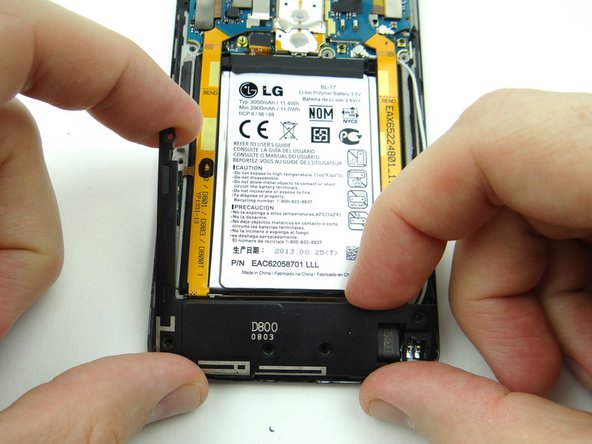
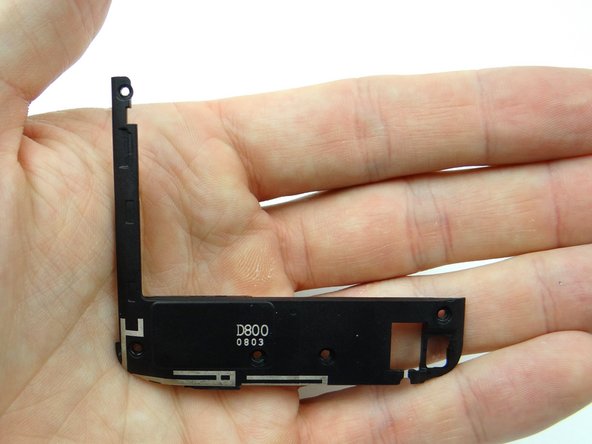
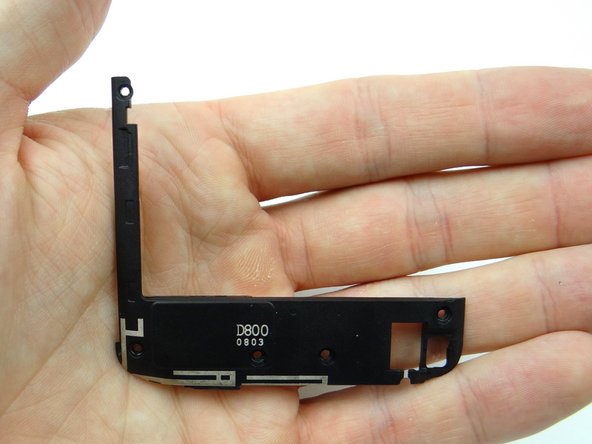
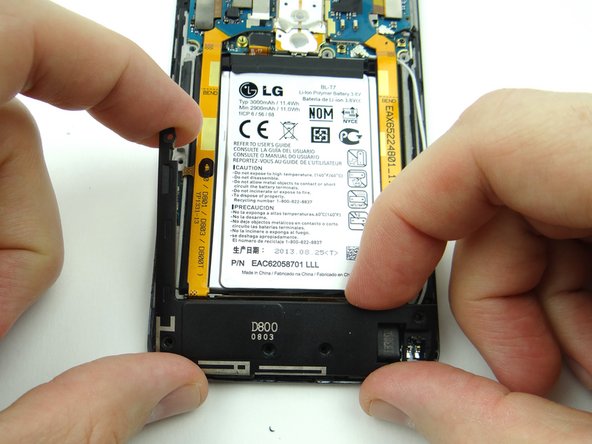
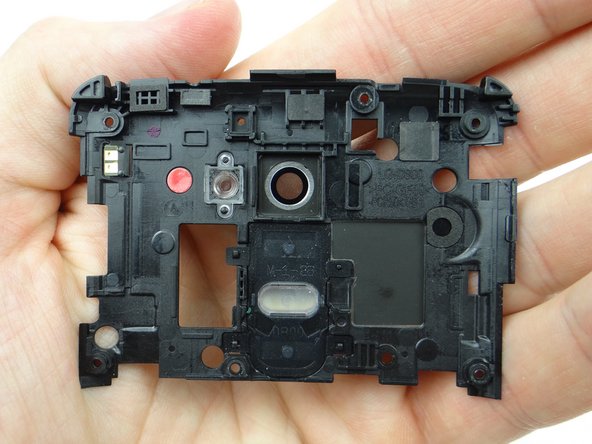
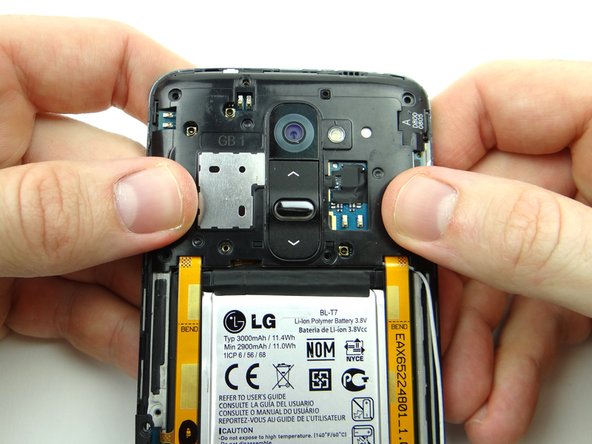
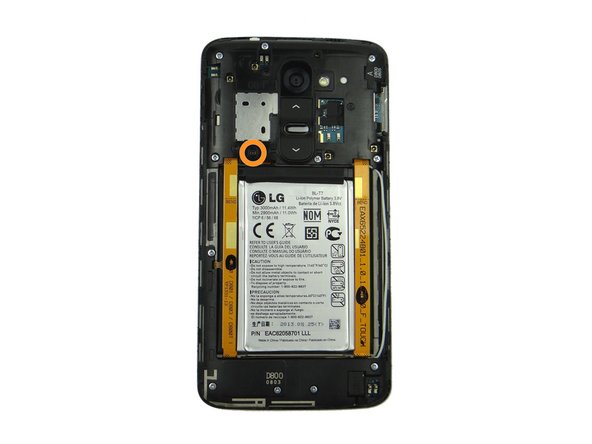
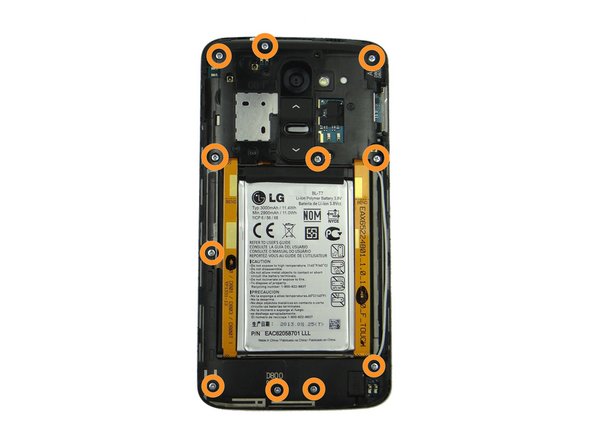
Lift the loudspeaker & antenna housing away from the phone.
-
Place in ZONE II.
-
-
-
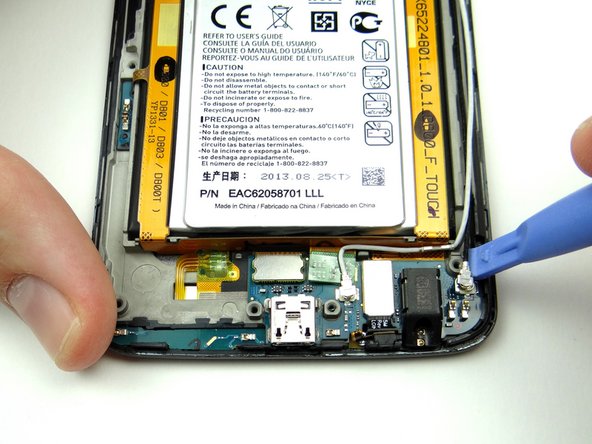
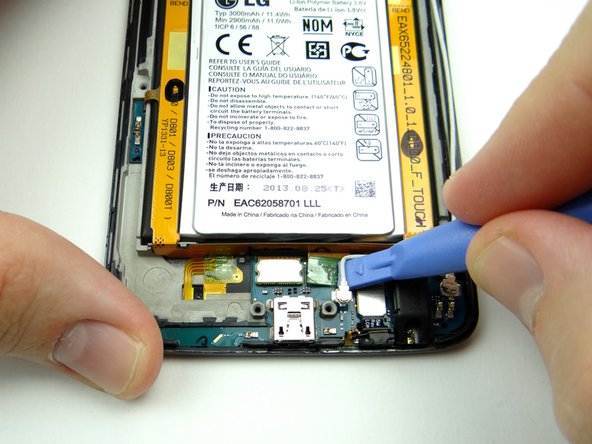
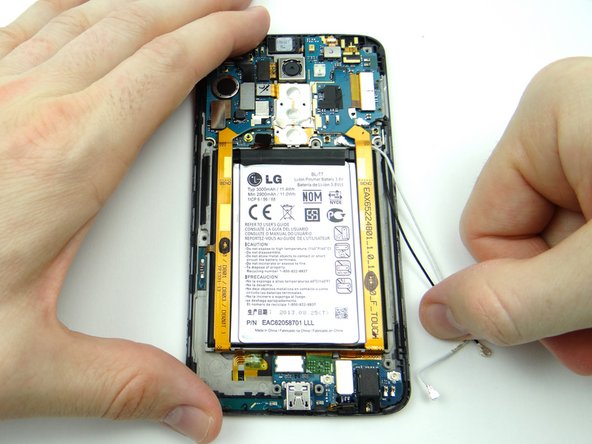
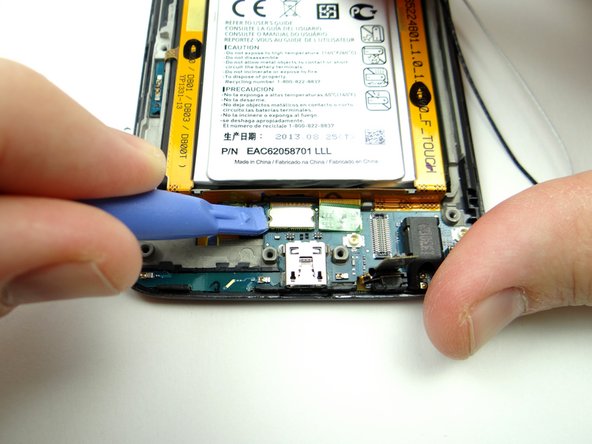
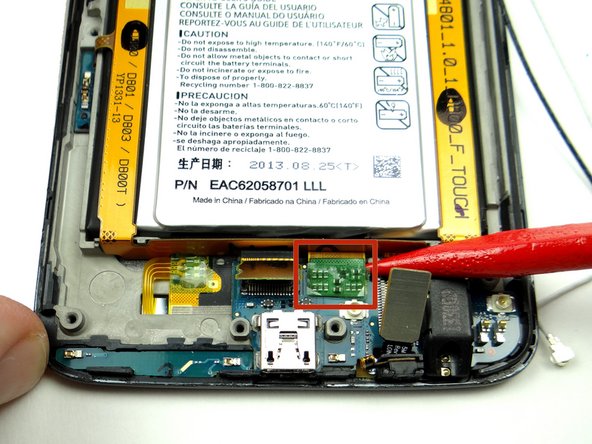
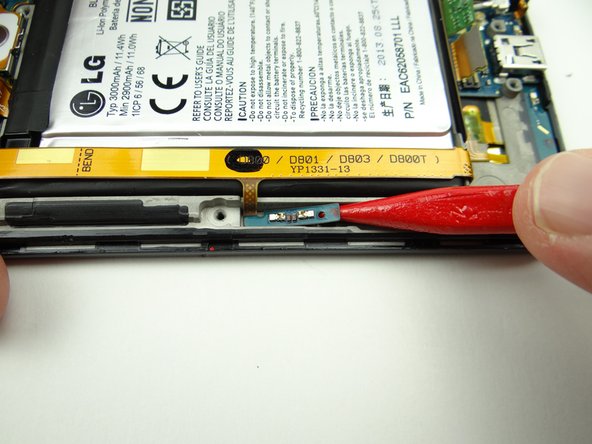
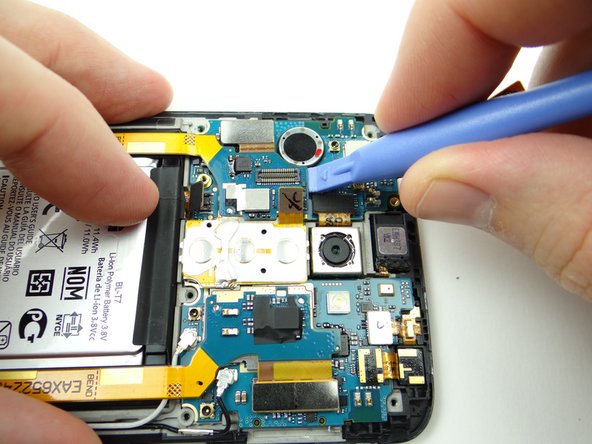
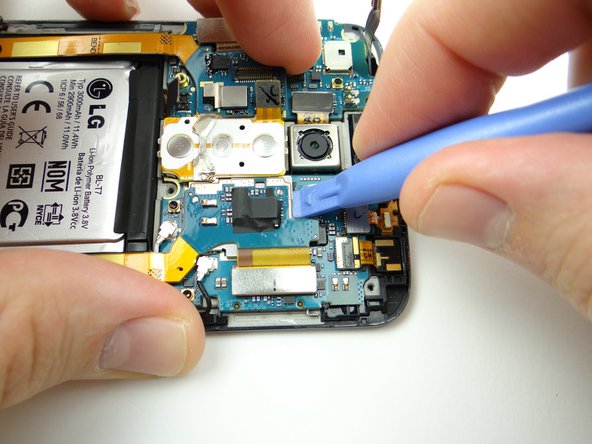
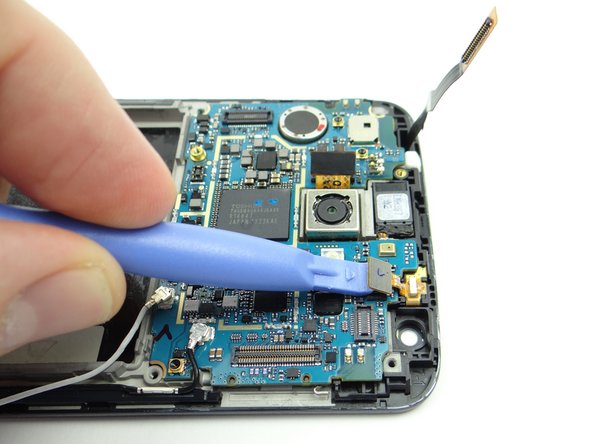
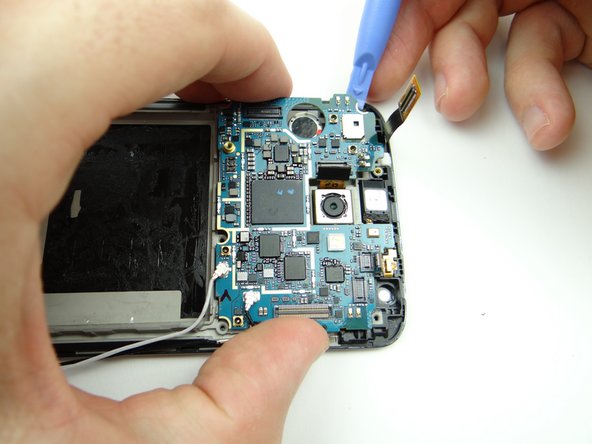
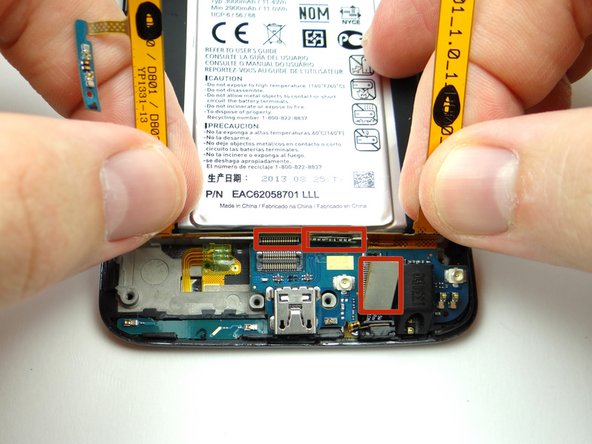
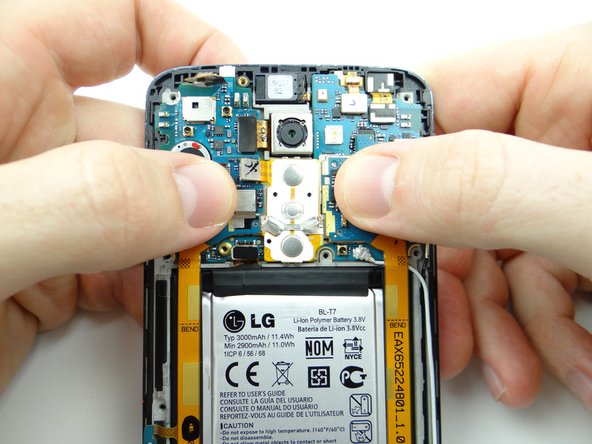
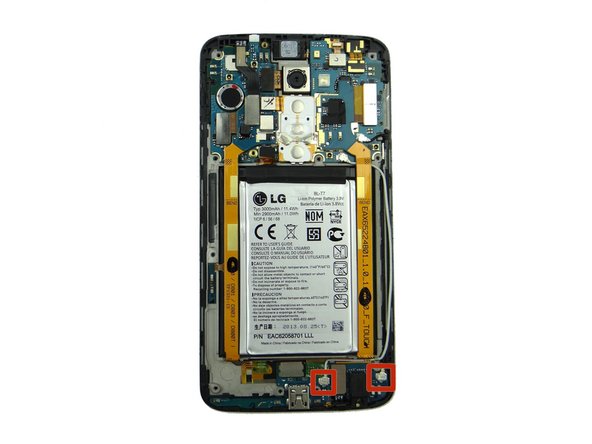
Pictures 1 & 2: Use the blue pry tool to disconnect two antenna cables.
-
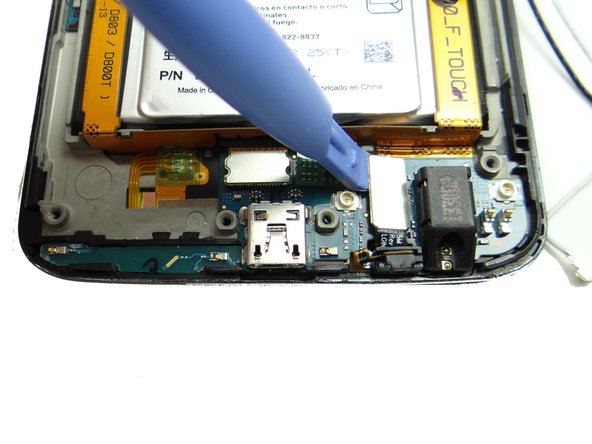
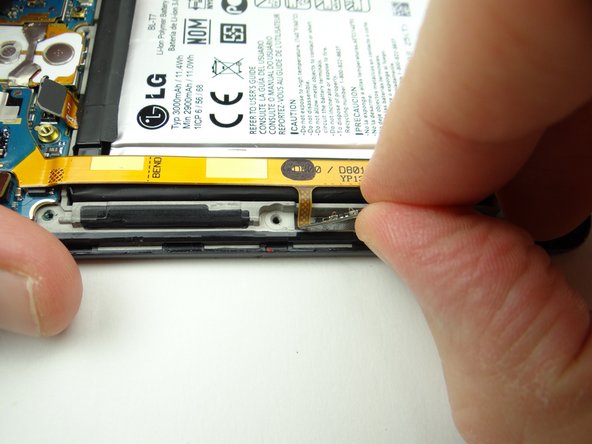
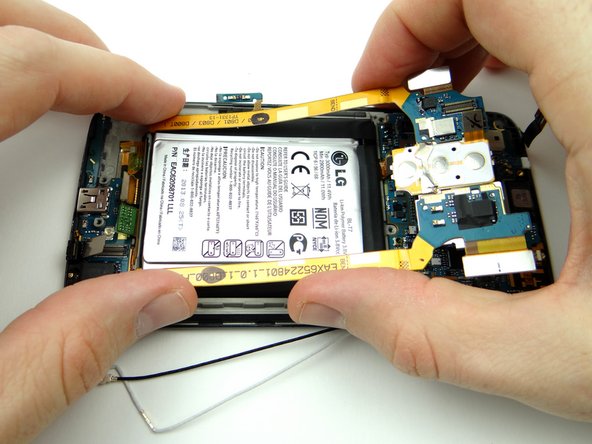
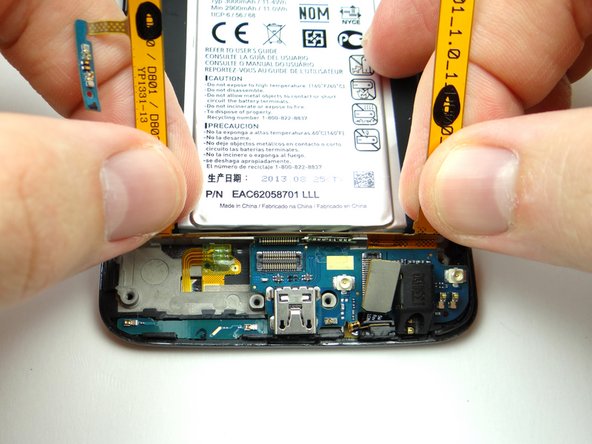
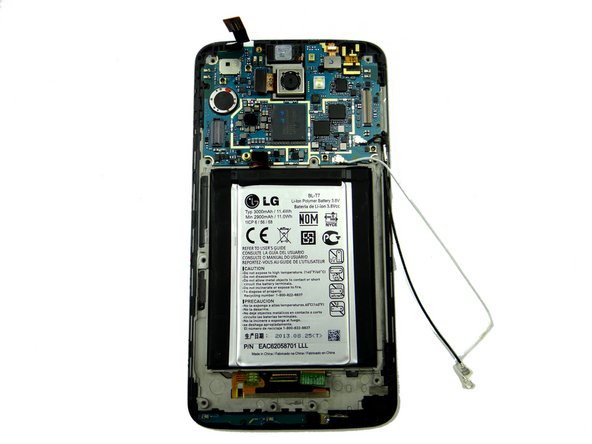
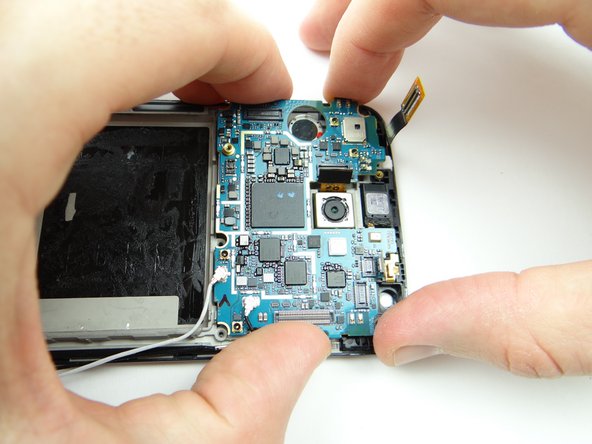
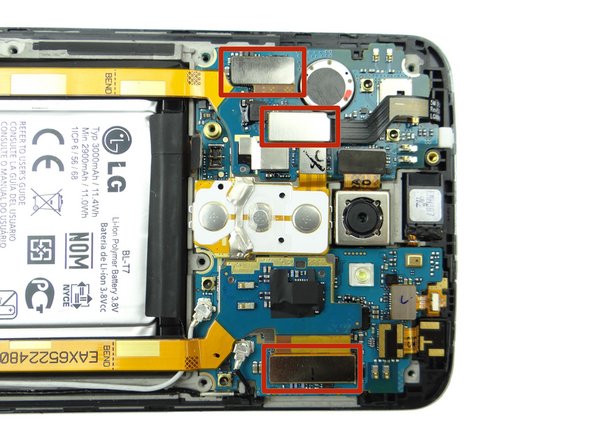
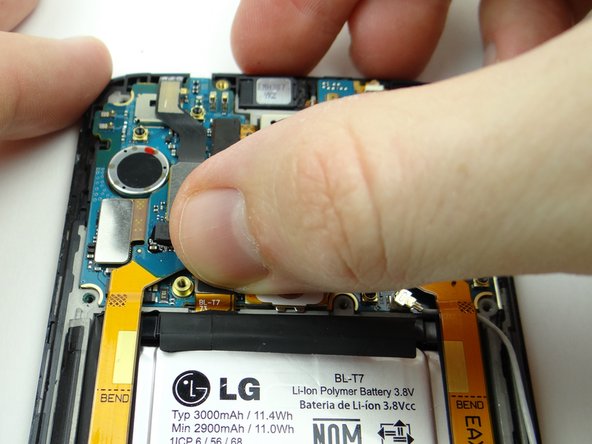
Picture 3: Move the antenna cables to the side.
-
-
-
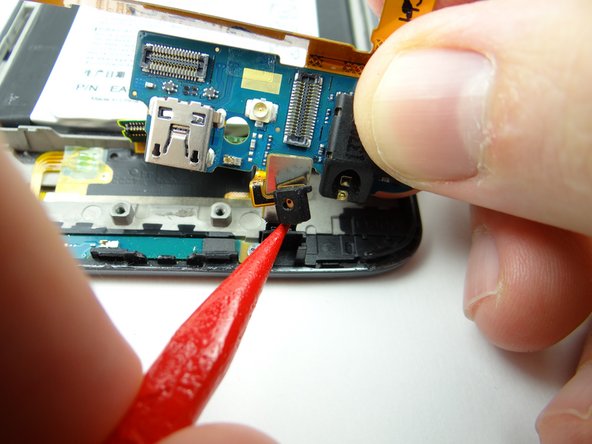
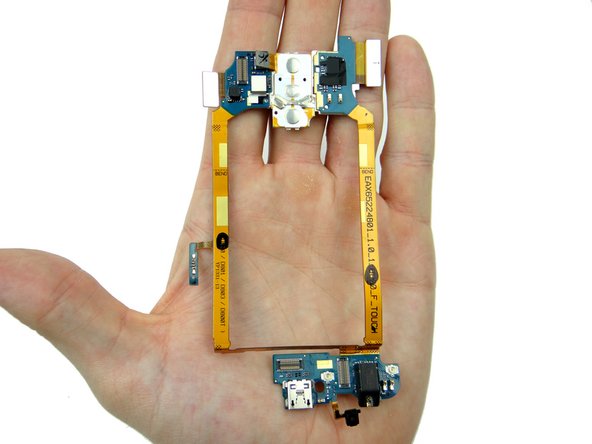
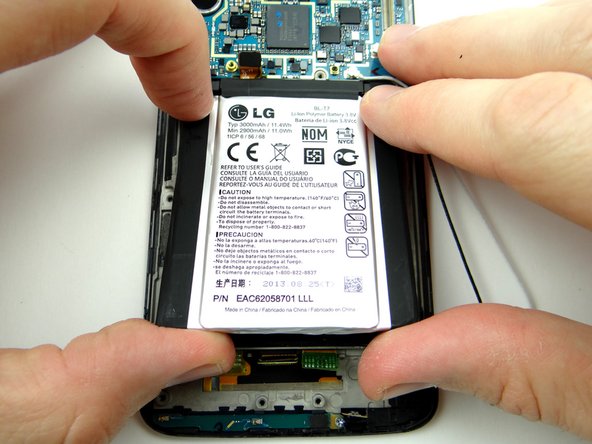
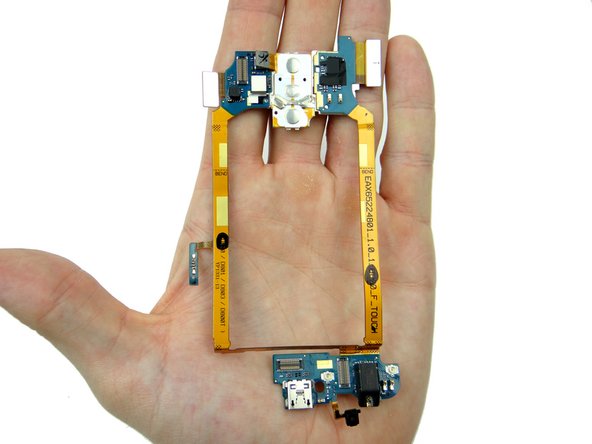
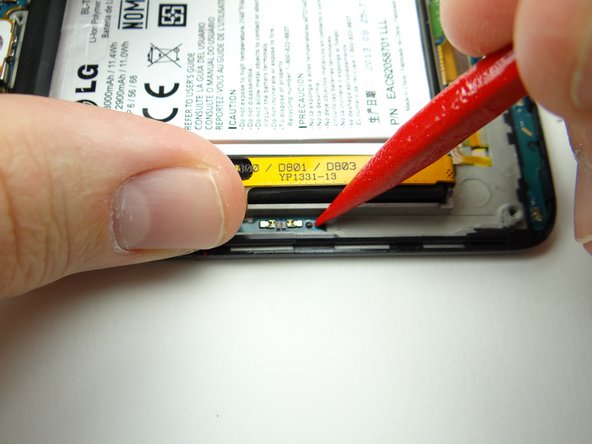
Picture 1: Pinch the daughter board near the bottom of the battery and continue lifting it away from the mid-frame.
-
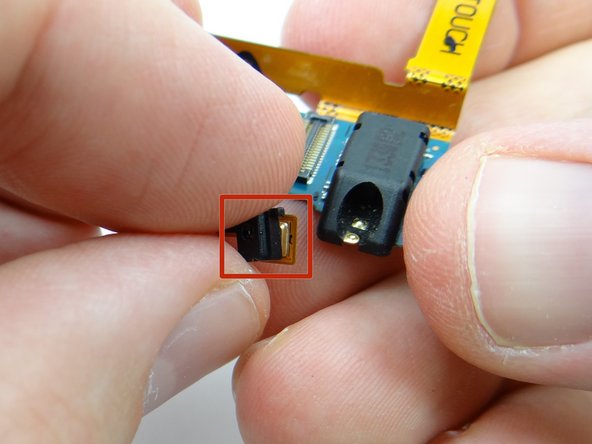
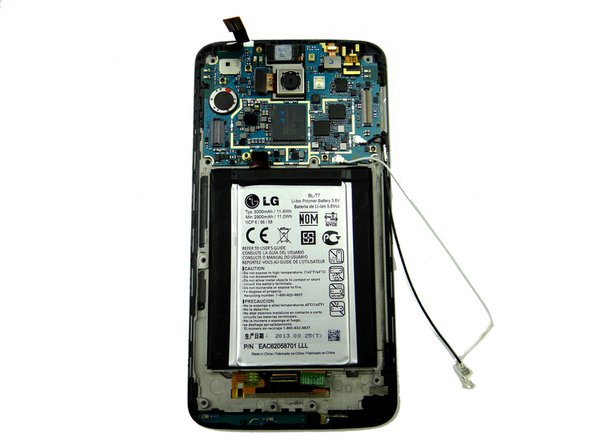
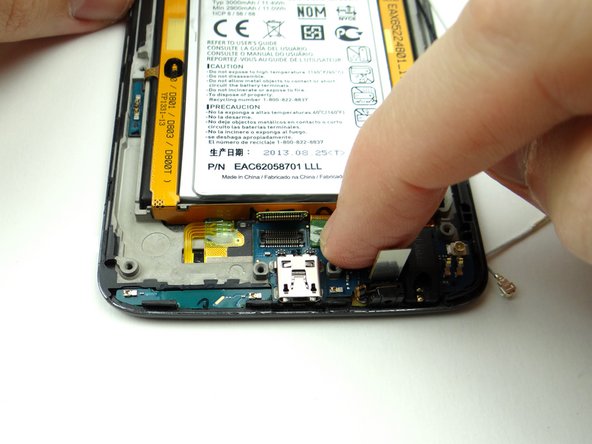
Picture 2: It may get stuck when you reach the microphone socket. Use the pointed tip of the spudger to lift the microphone.
-
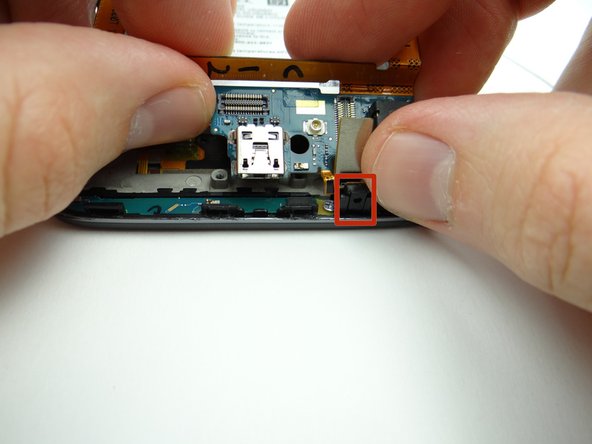
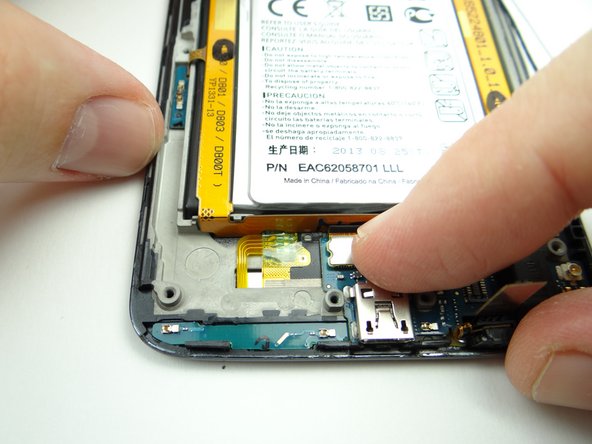
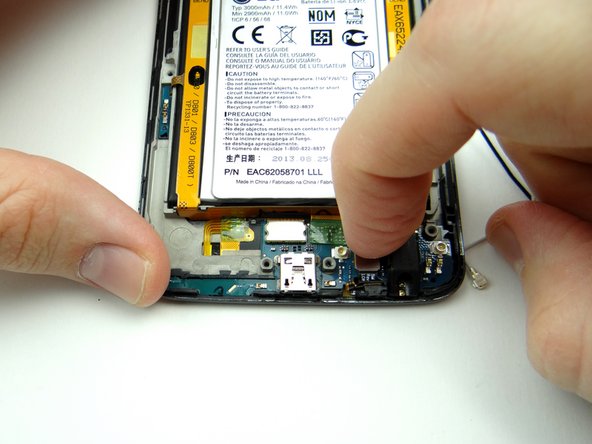
Picture 3: Make sure the tiny black microphone cover stays positioned over the microphone.
-
-
-
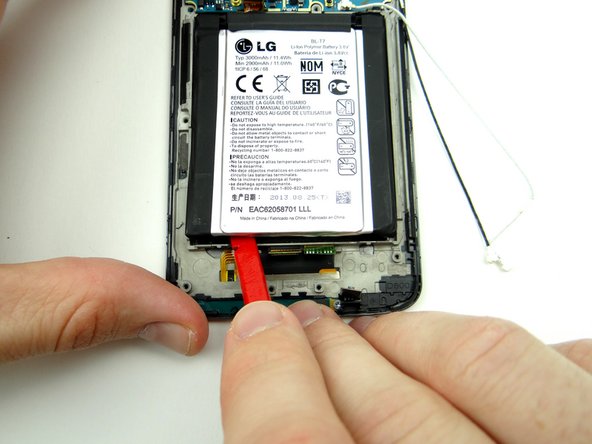
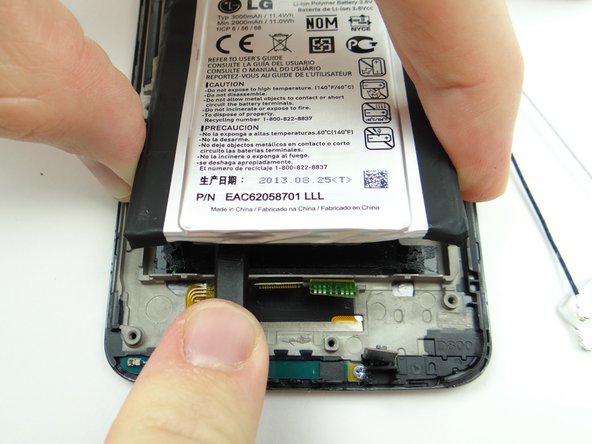
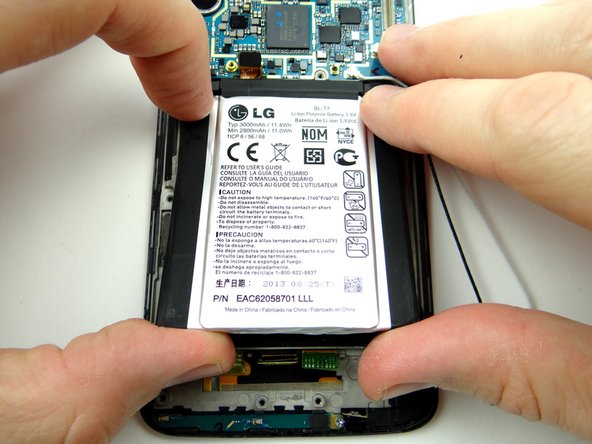
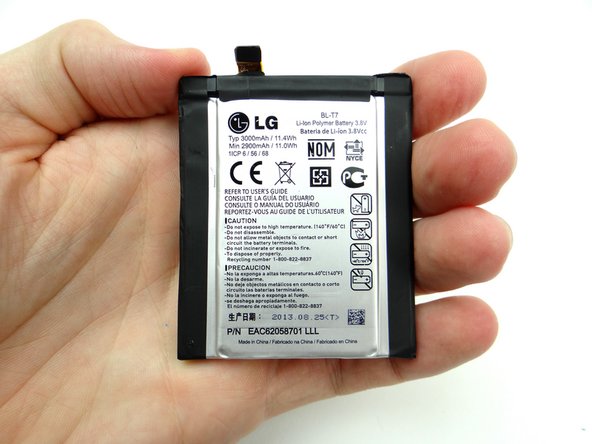
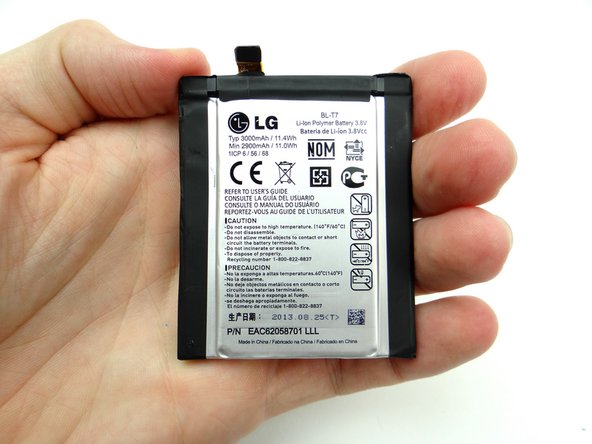
The underside of the battery is covered in adhesive:
-
Use the flat end of the spudger to work your way through the adhesive.
-
-
-
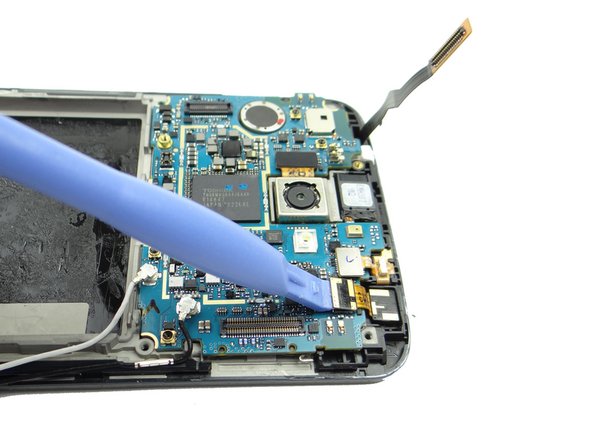
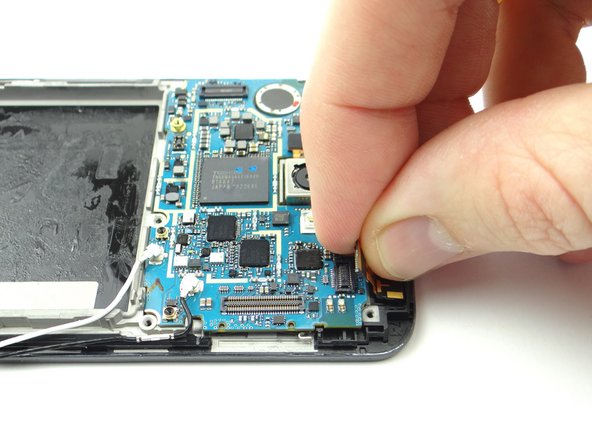
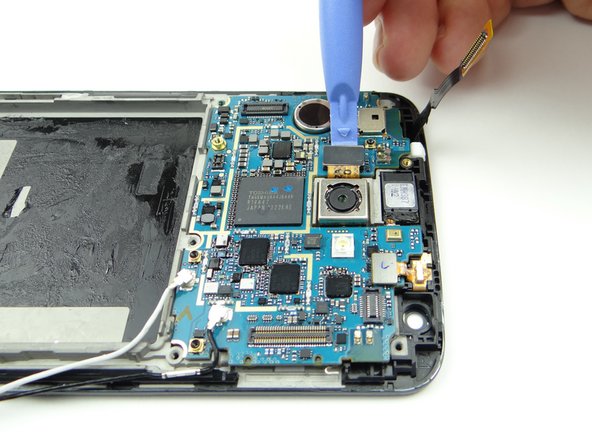
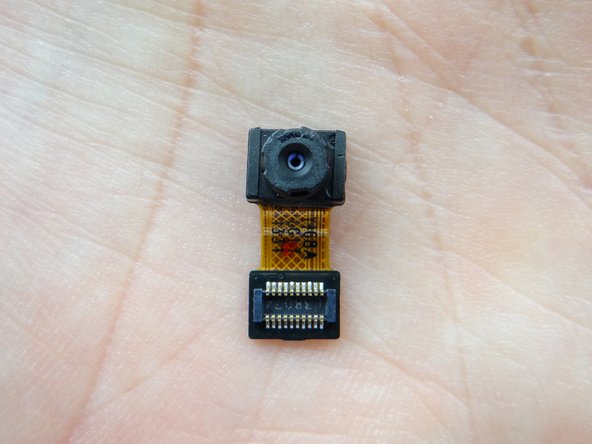
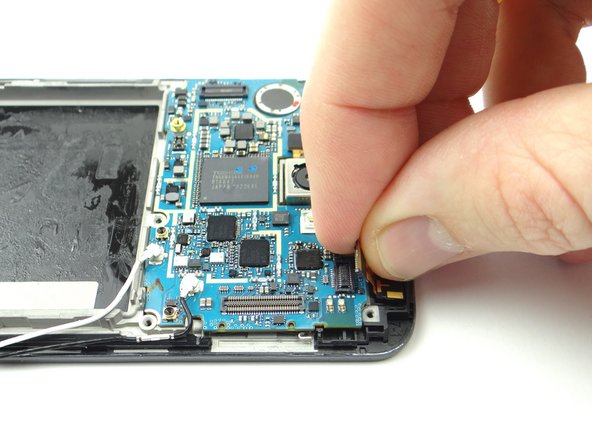
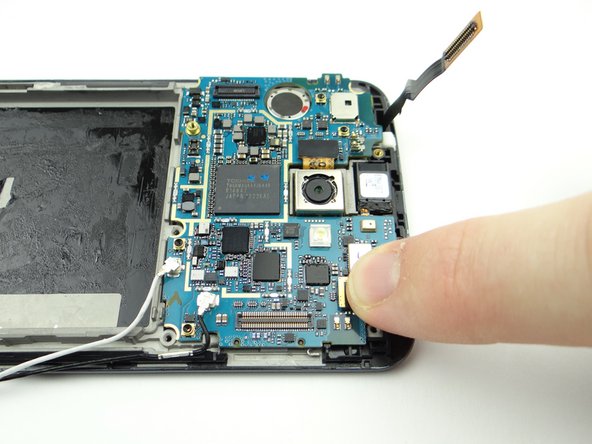
Use the blue pry tool to disconnect the front-facing camera.
-
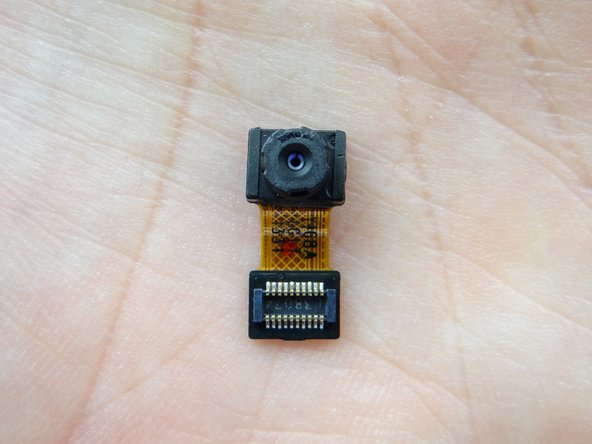
Finish removing it with your fingers.
-
Place in COMPARTMENT B.
-
-
-
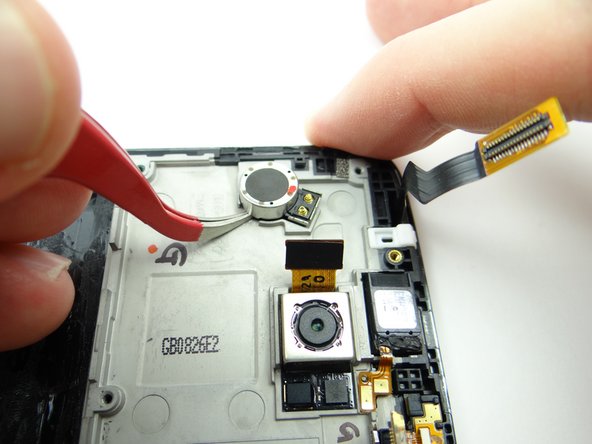
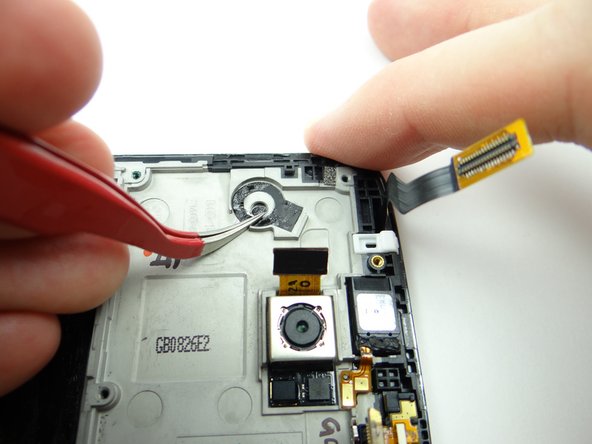
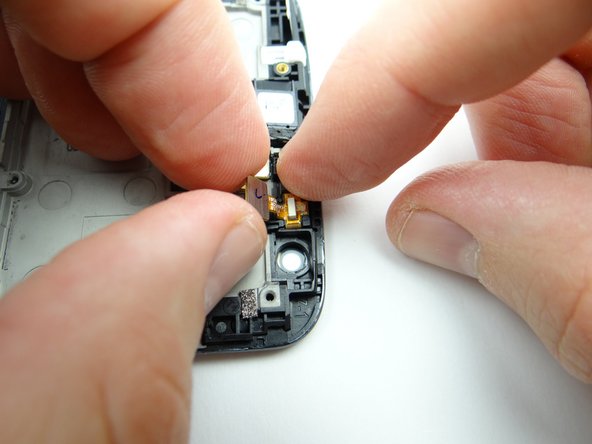
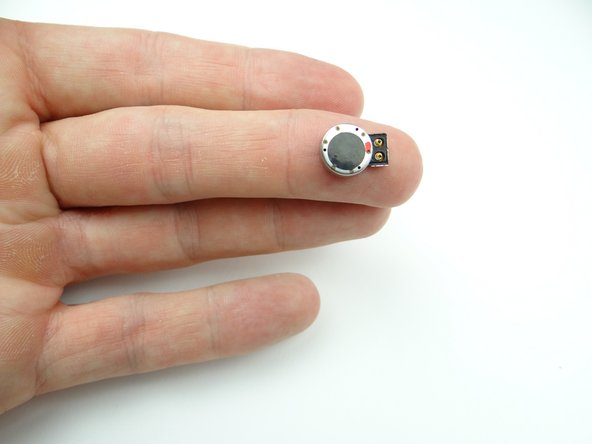
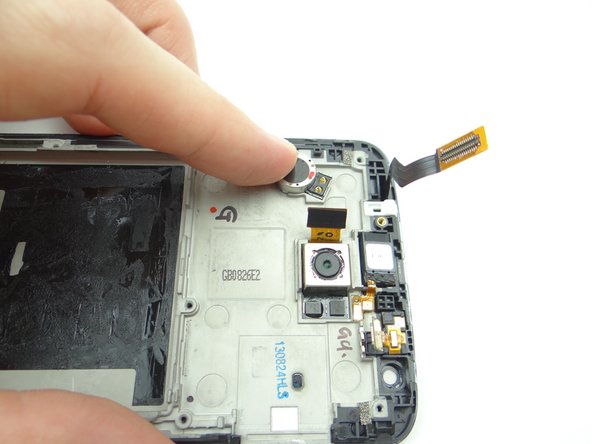
With the tweezers in the closed position, wedge under the vibrator and lift up.
-
Make sure the adhesive strip remains aligned on the mid-frame.
-
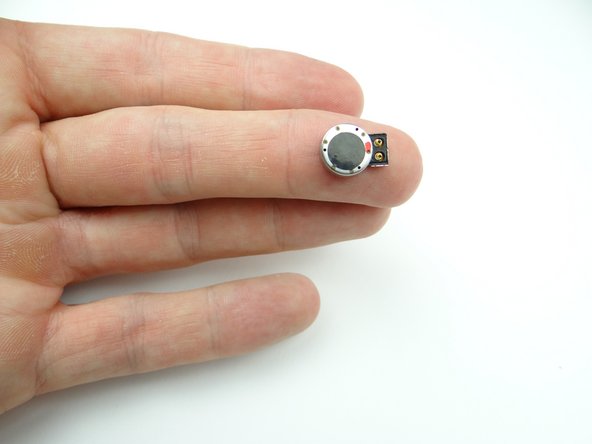
Place the vibrator in COMPARTMENT C.
-
-
-
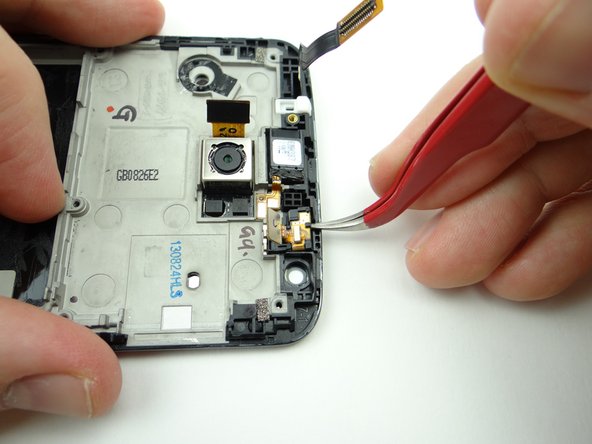
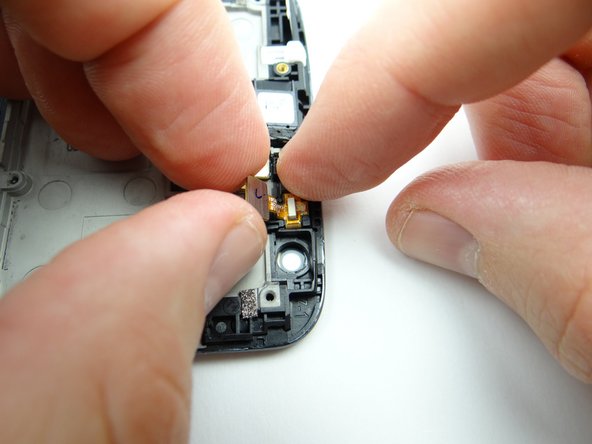
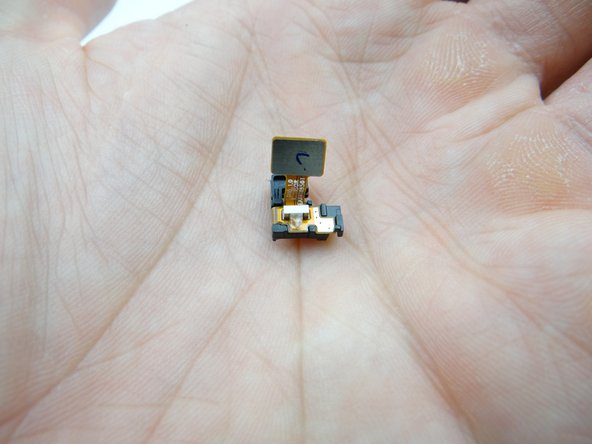
With the tweezers in the closed position, wedge under the sensor and lift slightly.
-
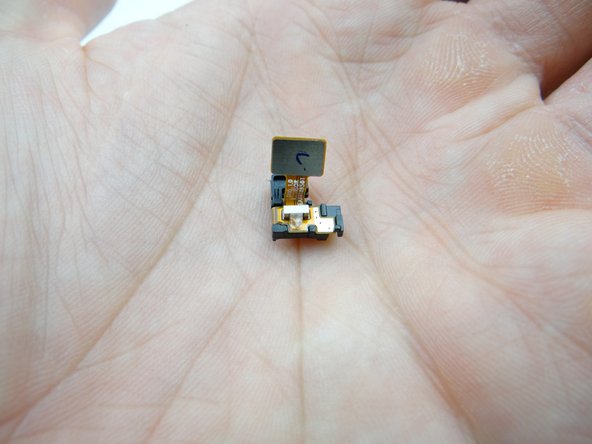
Remove the sensor with your fingers.
-
Place in COMPARTMENT C.
-
-
-
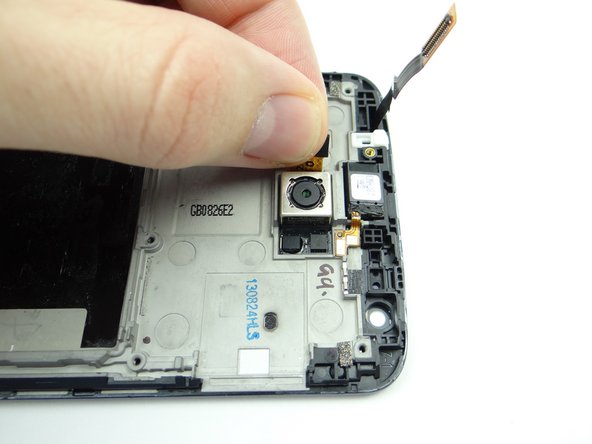
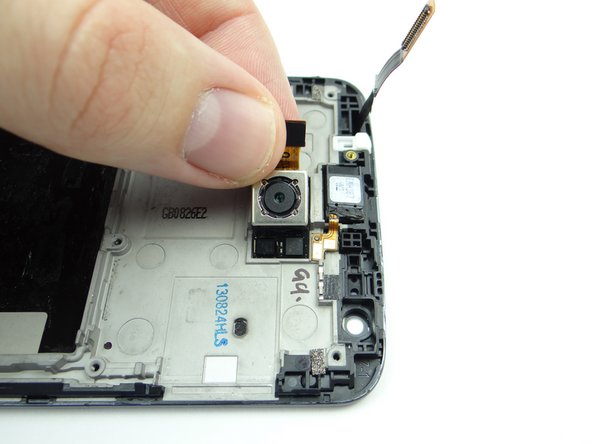
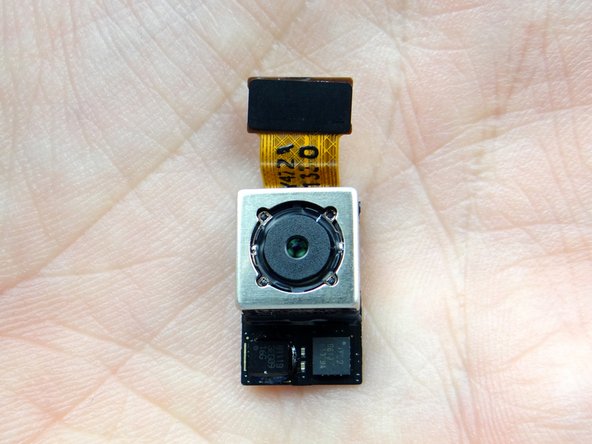
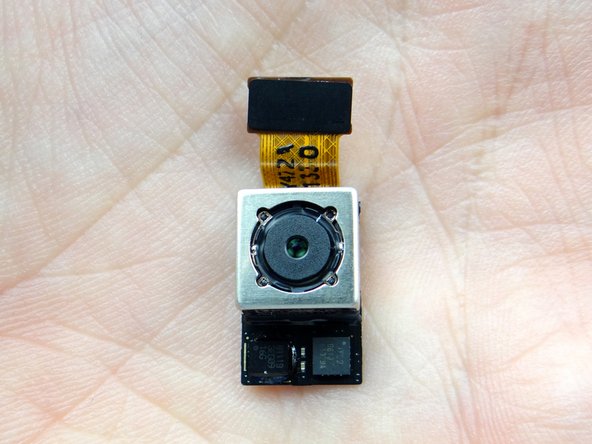
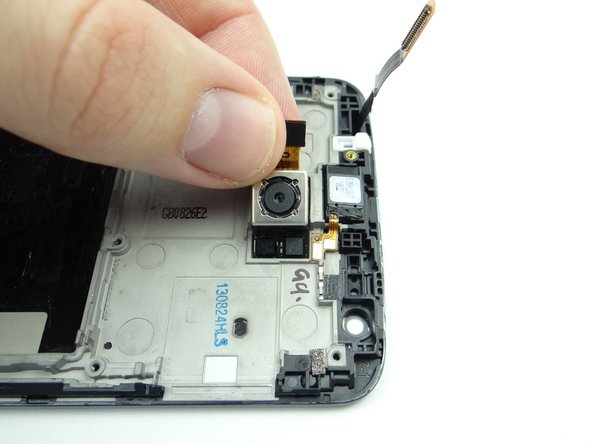
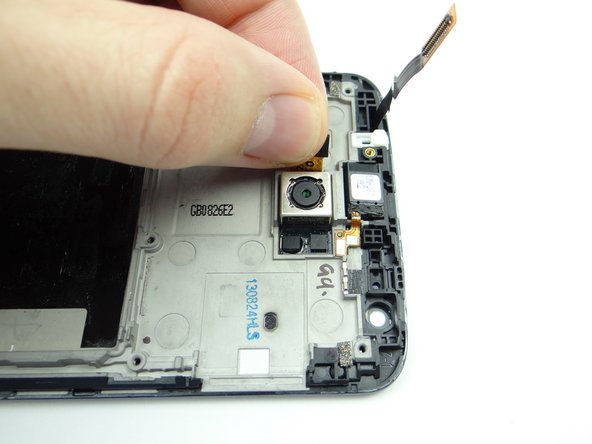
Pinch the rear camera cable and lift slowly. Wedge your pointer finger under the camera as you peel up the contacts.
-
Place the rear camera in COMPARTMENT D.
-
-
-
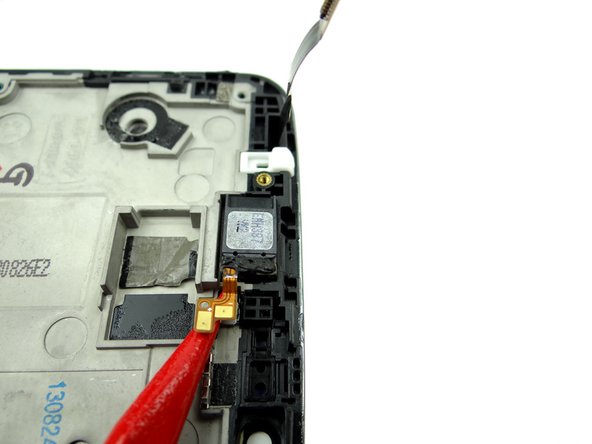
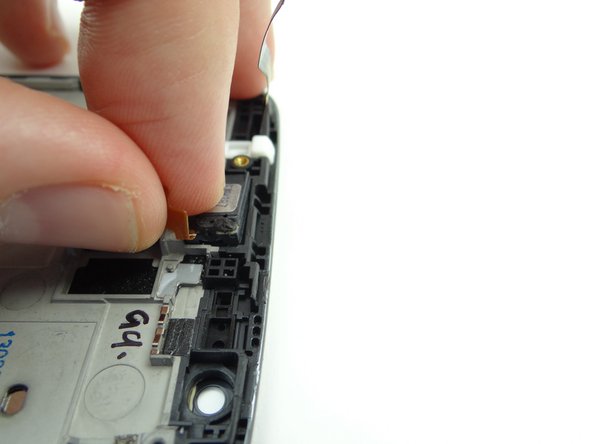
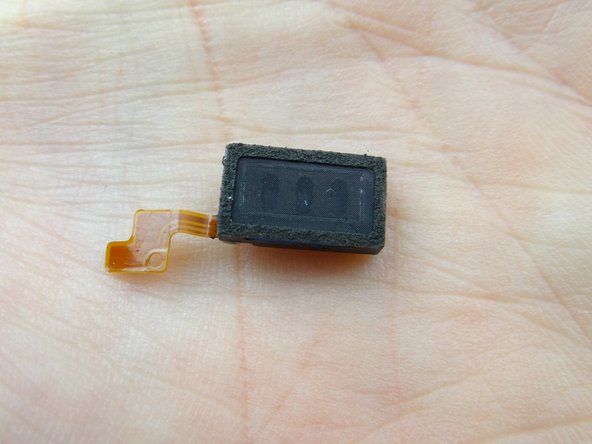
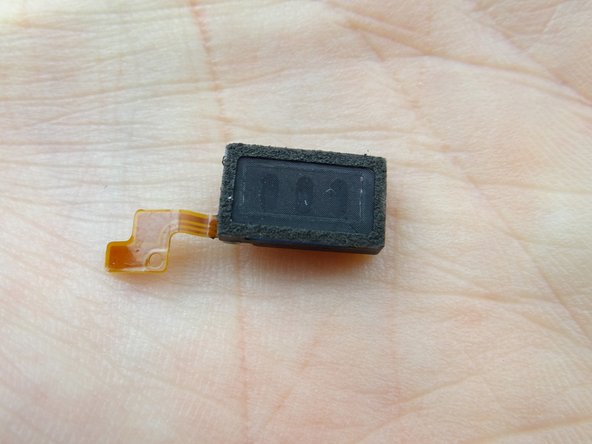
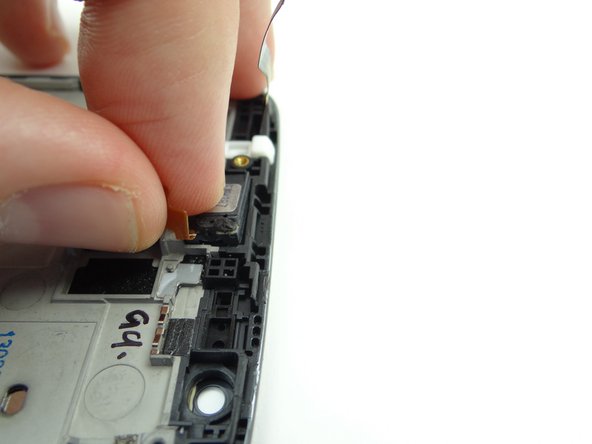
Use the pointed tip of the spudger to wedge under the earpiece speaker cable.
-
Pinch the cable and slowly peel the earpiece speaker from its socket.
-
Place the earpiece speaker in COMPARTMENT D.
-
-
-
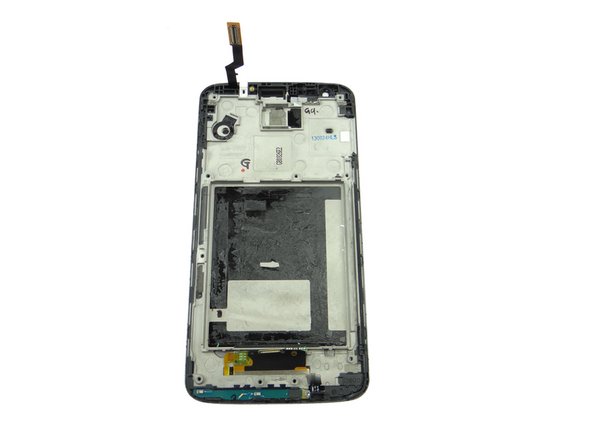
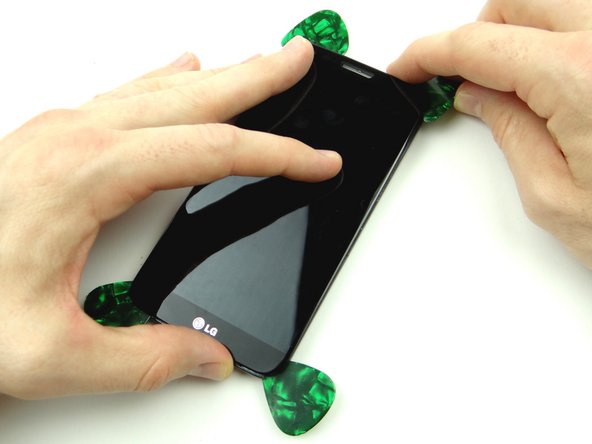
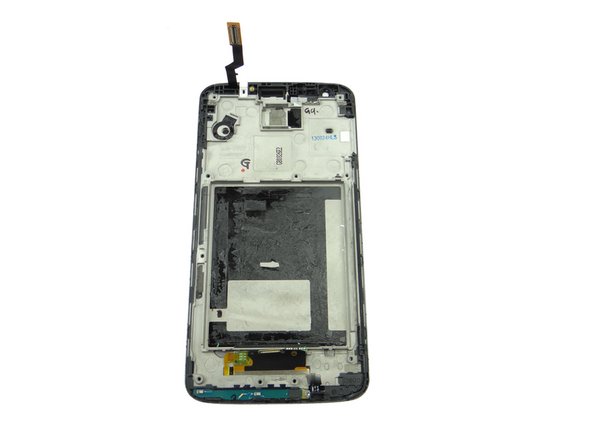
Picture 1: You can order the G2 display with the mid-frame (as pictured).
-
Here we show you how to reuse the mid-frame:
-
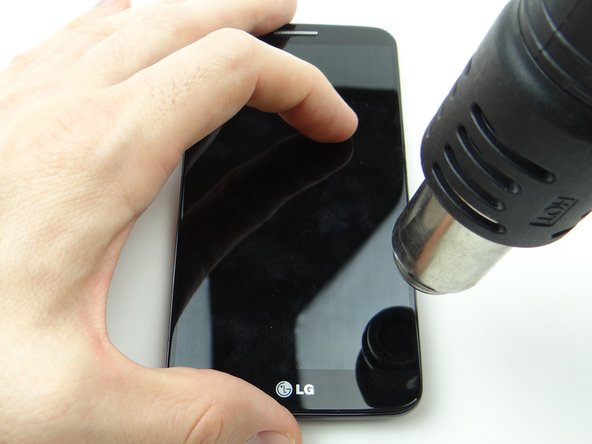
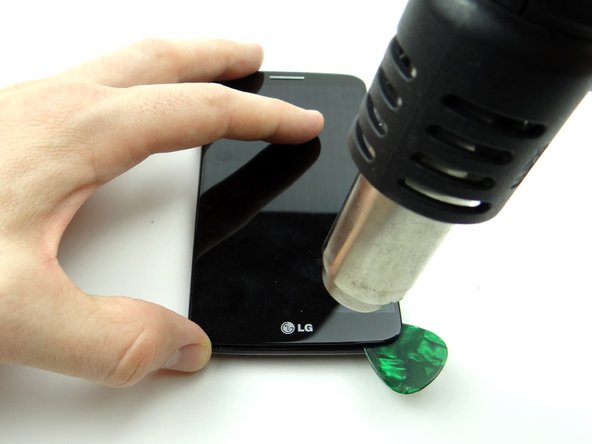
Picture 2: Heat the lower-right corner of the display assembly with 100° Celsius heat for about a minute.
-
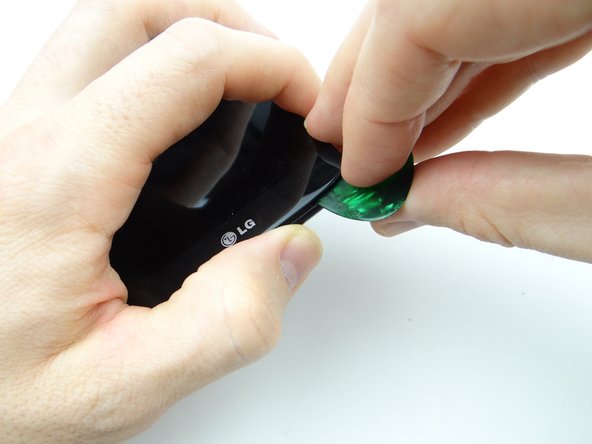
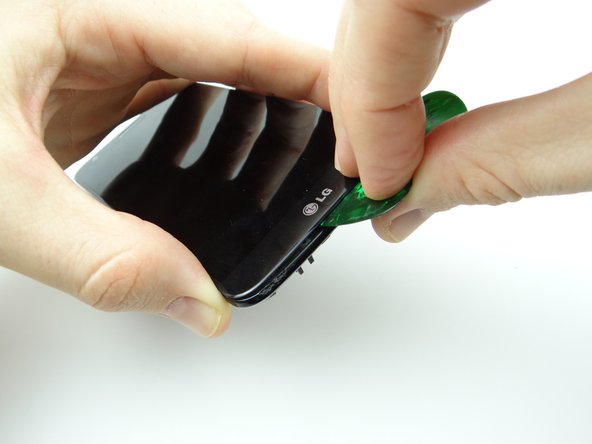
Picture 3: Wedge a guitar pick between the mid-frame and LCD.
-
-
-
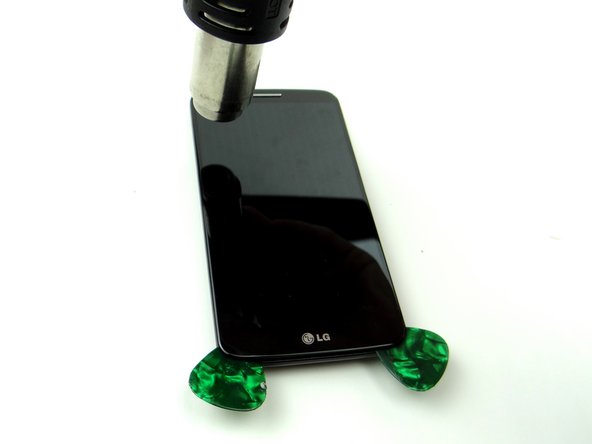
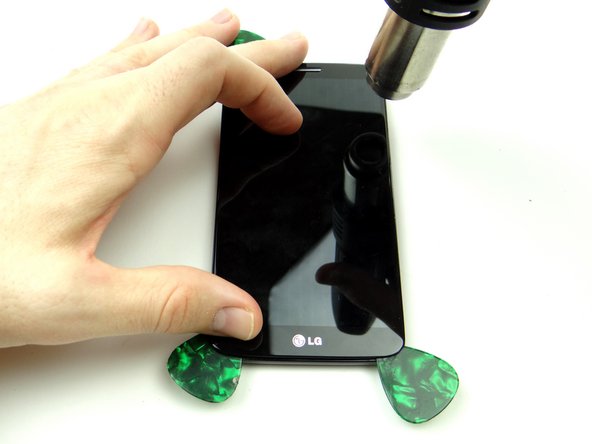
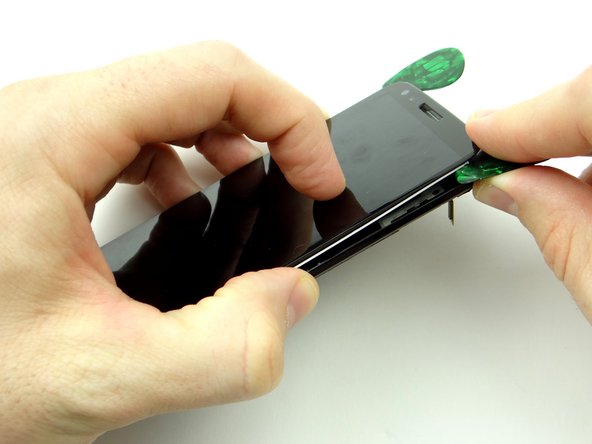
Pictures 1 & 2: Heat the right side of the display. Insert a guitar pick in the upper-right corner and roll it down the right side.
-
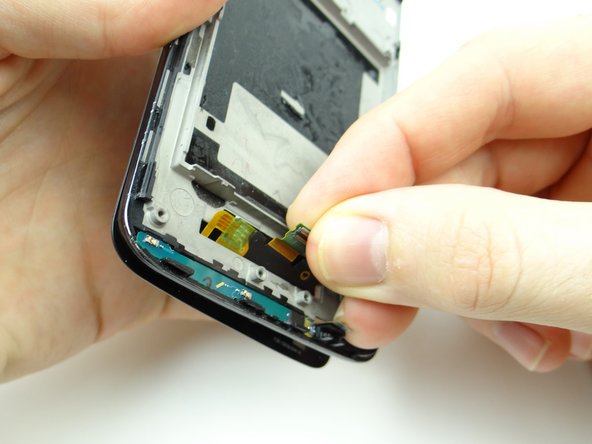
Picture 3: Work the guitar pick back up to the corner and start prying the display away from the mid-frame.
-
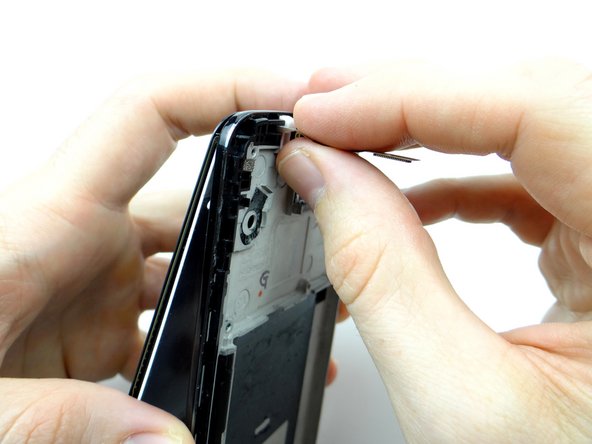
Take care not to torque the mid-frame as you remove the display.
-
-
-
Retrieve the mid-frame from ZONE V, the mid-frame adhesive and scissors:
-
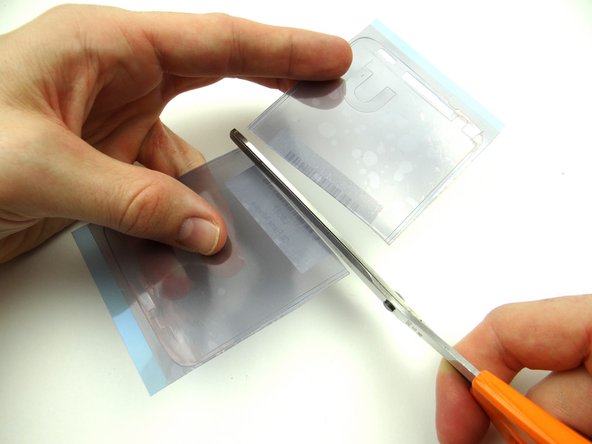
Picture 1: Cut the adhesive in half to make it easier to seat on the mid-frame.
-
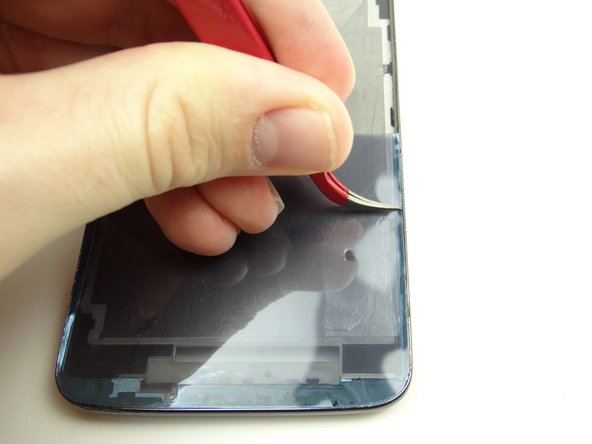
Picture 2: Peel the backing off the bottom half of the adhesive and lay it along the bottom half of the mid-frame. Use curved-tip tweezers to push the adhesive into place.
-
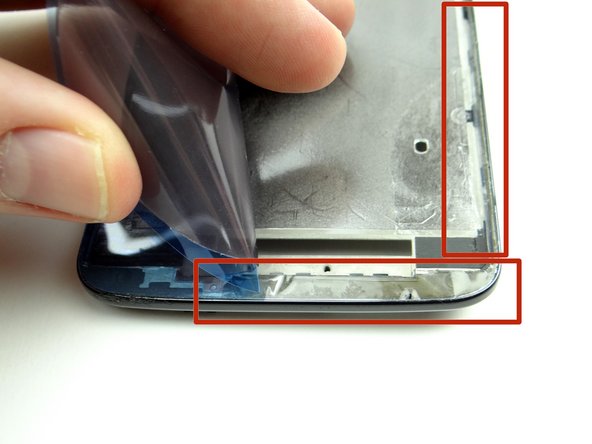
Picture 3: Peel up the top pink and blue layers of adhesive backing to expose the adhesive along the edges of the mid-frame.
-
Repeat the process to lay the adhesive along the top half of the mid-frame.
-
-
-
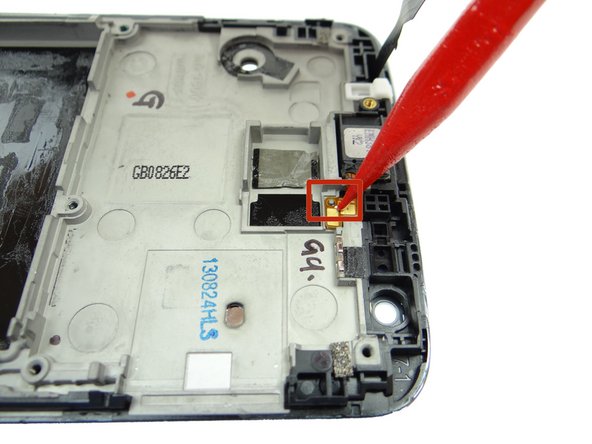
Replace the earpiece speaker from COMPARTMENT D:
-
Place the speaker in its socket. Then place the cable over the tab on the mid-frame (red square in Picture 3) and push it into place.
-
-
-
Seat the rear camera from COMPARTMENT D:
-
Place the contacts first, then continue seating the camera.
-
-
-
Replace the vibrator from COMPARTMENT C:
-
Line it up and push it firmly into place.
-
-
-
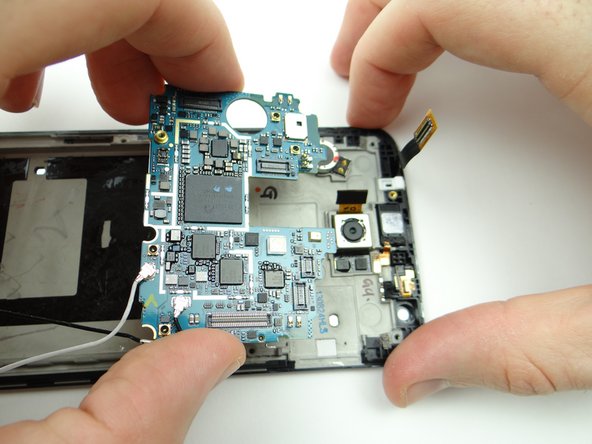
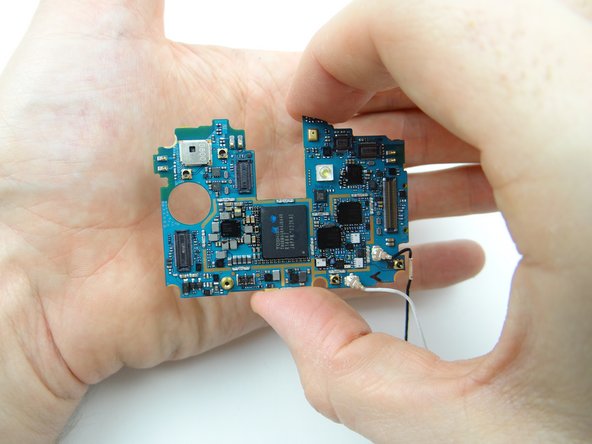
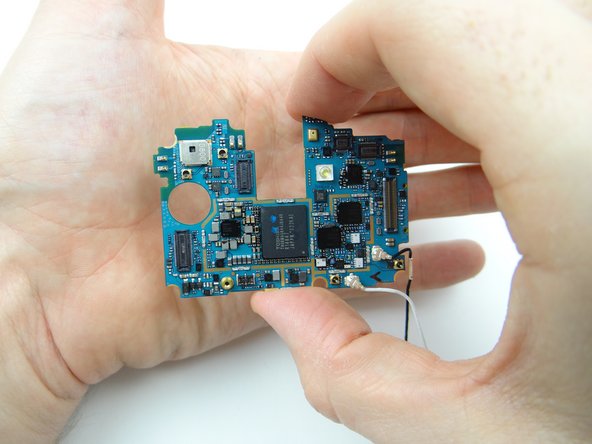
Replace the logic board from ZONE V:
-
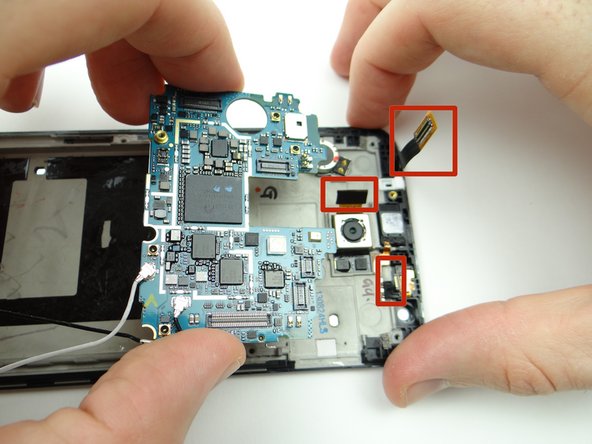
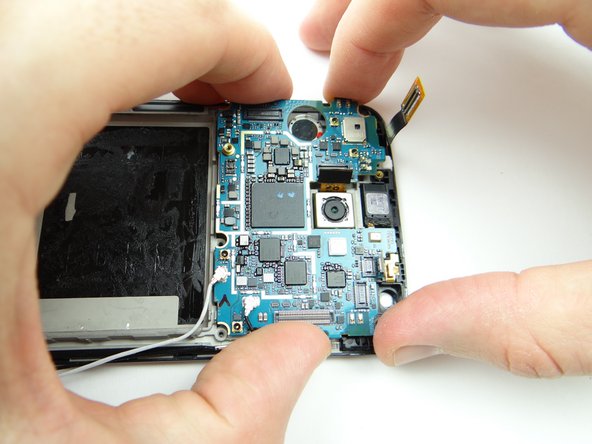
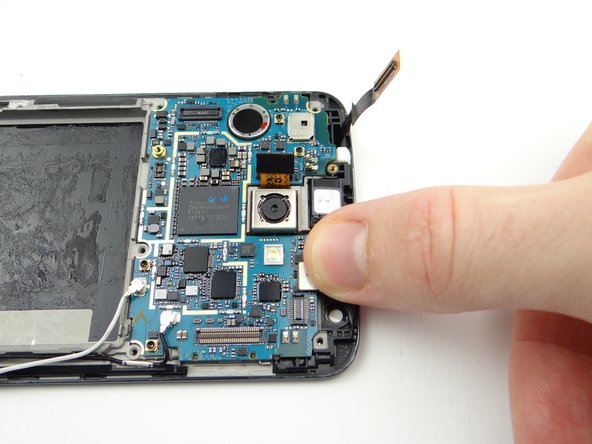
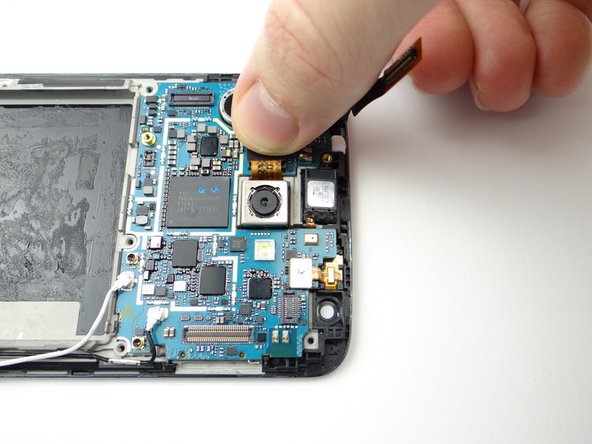
Make sure no cables get trapped as you move the logic board into place.
-
Make sure the logic board is properly aligned as you gently push it into place.
-
-
-
Replace front-facing camera from COMPARTMENT B:
-
Place it in the socket and connect the cable.
-
-
-
Replace daughter board from ZONE III:
-
Push the microphone into its socket first.
-
Make sure the display cables don't get trapped under the daughter board as you push the bottom into place.
-
-
-
Replace loudspeaker & antenna housing from ZONE II:
-
Snap it into place at the bottom of the phone.
-
-
-
Replace rear housing from ZONE II:
-
Snap it into place at the top of the phone.
-
Almost done!
Finish Line


